Installation and Setup
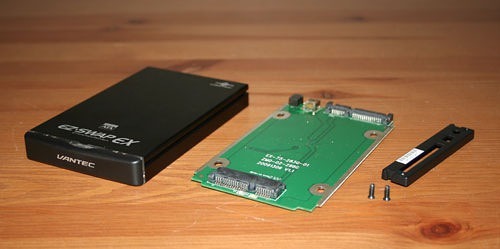
The first thing you need to do when setting up the enclosure is to remove the two small screws on the back of the drive enclosure. Make note not to loose the tiny black screws else you will not be able to secure the hard drive into the enclosure.
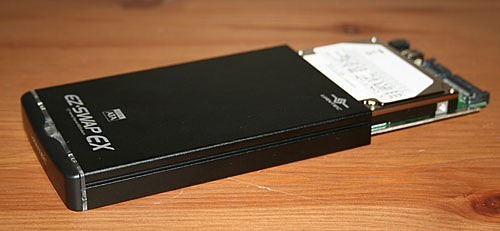
Mounting the hard drive to the PCB is easy and straight-forward. Just plug the drive into the connectors on the board and secure with the four included screws. Once that’s done, the drive slides into the enclosure and is secured with the back panel and screws removed earlier. The mounted drive slides into the enclosure and slips into the internal connectors. Just reattach the back panel with the mounting screws removed in the first step and you’re done…for now.
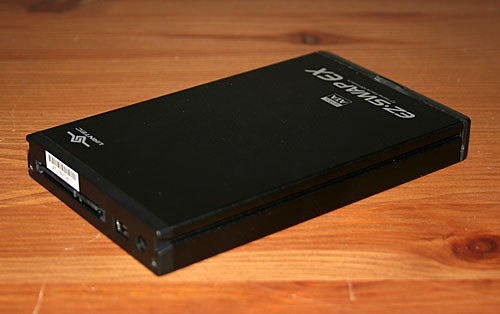
The EZ Swap EX enclosure can be used without installing the desktop drive caddy, but that’s really the best part of this product. Using just the USB cable supplied turns the EZ Swap EX into a standard portable hard drive. One thing I noticed when I used the drive as a USB portable drive is that it was able to draw enough power from the USB connection without having to use the supplied USB Power cable. This is good because if you ever use it with a laptop as USB ports can be in short supply.
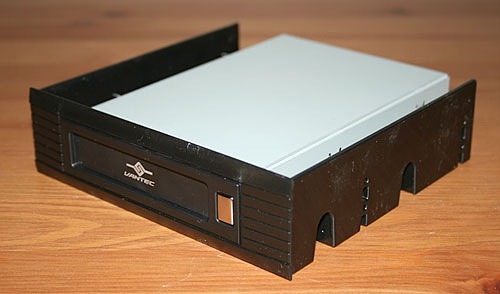
Installation of the 5.25 inch caddy is like any other 5.25 inch device. You attach the included SATA cable to the back of the caddy and then plug the other end into an available SATA header on your motherboard.
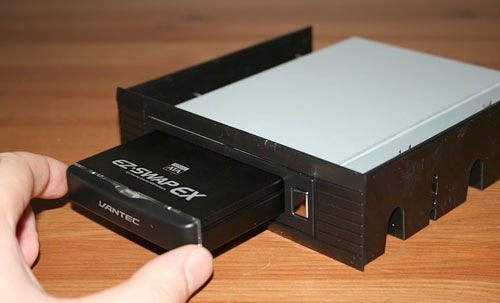
Using the supplied Molex converter you can attach the typical 4-pin Molex connector to the rear of the bracket to supply power for the enclosure when it is docked in the system. I found it a bit odd that I did not have to use one of my SATA power connectors to supply power to the device. Luckily I had a spare 4-pin Molex connector, but it would be a more complete solution if it had both SATA data and power connections.
While sliding the 5.25 inch bay bracket into my tower I found that it did not fit snuggly against the side rails like my DVD burner does. My case has a ‘tool-less’ locking system and I just could not secure it to my liking. I could wiggle the 5.25 inch bay bracket by at least half an inch and that simply would not do. Also, because the ejection mechanism requires a stiff push to eject the enclosure, it deflected quite a bit. Plastic just isn’t a good material to use here. Let’s see if it works any better in the 3.5 inch drive bay.
Real-Time Price and Stock Check – Shop Like a PRO!
