Got Heat Pipes?

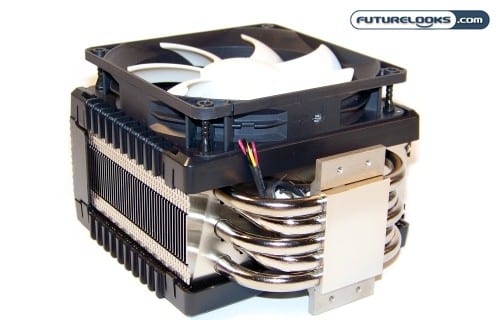
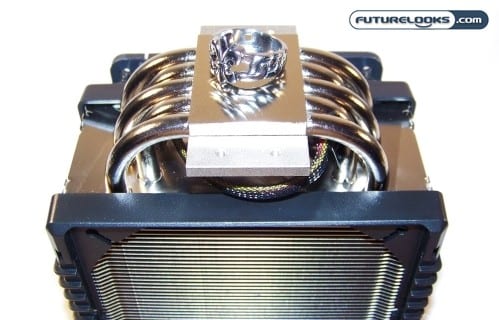
Most of the Frio’s weight comes in the form of five massive 8mm copper heat pipes that completely span the base. They form a series of very large U’s and connect to every single aluminum fin. Those joints are very, very clean and well manufactured which help spread the heat away from the base and through the network of aluminum fins.
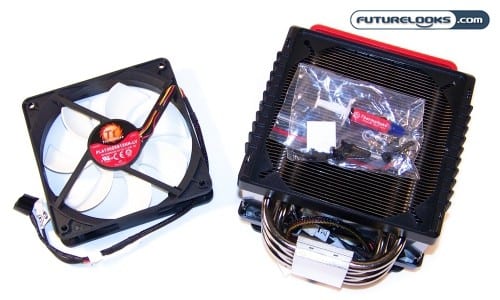
Cleaning the cooler shouldn’t be a problem either. You can’t quite tell, but the shroud is held on by some screws. Once you remove the screws, the shroud slides off pretty easily. Just make sure you have plenty of canned air in stock. This is a killer of cooler performance so being able to easily clean a cooler is welcome.

Moving to the shiny electro plated copper base, we see that it doesn’t sport a perfect, mirror finish. However, it’s still quite smooth and doesn’t have any grooves leftover from machining. As long a copper base is relatively smooth, you will get maximum heat transference. Mirror polishes are often just cherries on your ice cream sundae of heatsink happiness.
Installation Notes and Testing

You’ll want to keep a small Philips head screw driver on hand when you go to assemble the Frio. The mounting screws that secure the base plate are quite small. Don’t forget to thoroughly clean the paste off your CPU first with some Arctic Silver remover and purifier or whatever you choose to use. While we prefer the Arctic Silver products, anything similar to cut through the paste/grease will work in a pinch.
After applying and spreading out your heatsink paste of choice (we choose Arctic Silver 5 for all our reveiws), simply lower the Frio in to place by orienting the four screws down through your motherboard. The real trick is using some patience and dexterity while screwing on the four tiny flat head bolts. During installation, the screws got away from us a few times, so pay attention as they’re easy to lose.
Test System Setup
In order to test the Thermaltake Frio properly, we chose some of the highest end equipment we could get our hands on which included INTEL’s six core 980XE CPU.
Here’s the break down of our test setup:
- Intel Core i7-980XE Gulftown (aka Thor)
- Test Cooler 1: Thermaltake Frio (as tested)
- Test Cooler 2: Zalman CNPS10X Extreme
- Test Cooler 3: Tuniq 120 Extreme
- Test Cooler 4: Thermalright Venomous X
- Test Cooler 5: Noctua NH-UH12P
- Test Cooler 6: Coolermaster N620
- Test Cooler 7: Thermalright MUX 120
- GIGABYTE GA-X58A-UD5 Motherboard
- Patriot Memory 6GB ViperII 2000MHz DDR3 Memory
- Zotac Geforce GTX295 Graphics Card
- Antec Quattro TPQ-1200 Watt Power Supply
To maximize each of the powerful 980XE’s cores and Hyper Threads, a bit of OCCT and Intel Burn Test were used to heat things up. Both of these are very reliable programs for validating any stock or overclocked systems for stability.
Testing Environment
Let us first just say, that the Frio was tested with one fan installed at first since this is going to be the most common configuration. This gives us an even base line between each all-in-one cooler. Note that the room’s ambient temp was 20C (65F for non metric types). All the temperatures were rounded off since “point 4” degrees doesn’t make any difference to 99% of the users who need capable cooling.
Noise was kept to a bare minimum in our test area so that we could at least tell whether or not there was a noticeable difference in noise levels between the respective coolers. We put the noise level meter away for this one but it will be back.
