A Peak Inside the Thecus N3200PRO

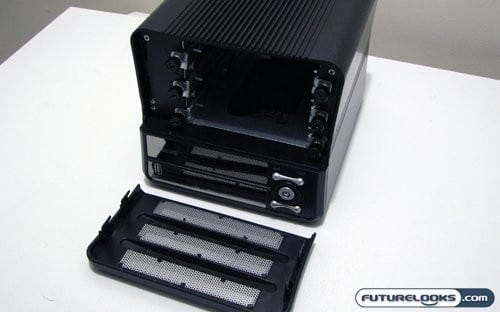
Opening up the N3200PRO is a fairly simple affair, or at least it is for the maintenance and removal of the hard drives. To access the hard drive bay, you simply slip the front cover up and pull it off. It’s simply a solid piece of plastic with some metal grills, mounted with some clips on the side. Luckily the mount is pretty tight, so there shouldn’t be any actual rattling from the cover. Actually the only downside to this setup is security. If someone was so inclined they could quite easily yank out a drive or access the controls without being impeded.

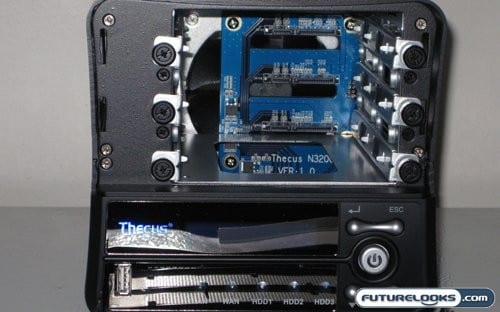
With the cover removed, you can get a good look of the SATA backplane for this device. Like any other NAS box, the SATA ports on the N3200PRO are hard mounted in the standard position. This means that if you want something crazy like insert three WD VelociRaptor hard drives into this enclosure, you would be unable to. Still I doubt many will want to do that, as a NAS enclosure like this one is all about cavernous storage. You wouldn’t see very many benefits from a superfast hard drive.
Installin’ Some Drives

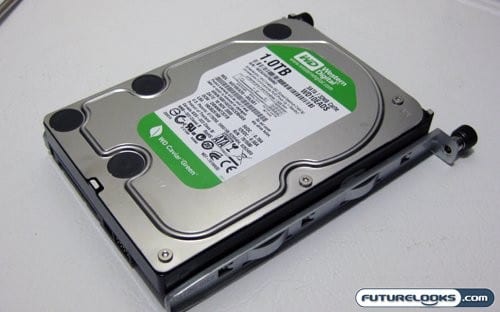
The hard drives we used for testing and setup of the Thecus N3200PRO were Western Digital 1.0TB Caviar Green models; three of them to be exact. I wanted to max out on the amount of storage this enclosure said it could handle, so we put out a call to a couple hard drive manufacturers for samples. Western Digital stepped up to the plate and provided us with what one would think should be the perfect companion to a NAS enclosure that’s always on: A hard drive whose primary focus is power conservation and “green” operation.

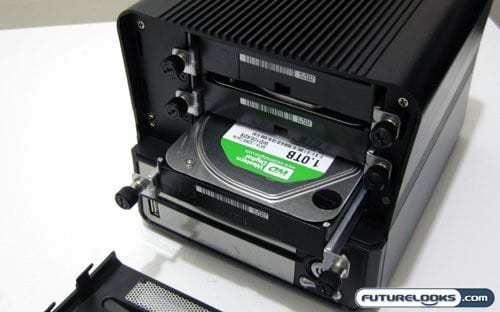
Installing the three WD Caviar Green drives in the N3200PRO was very easy, and didn’t require any tools to perform. The rails simply clip onto the hard drives by way of the standard screw holes. The drives then slide into their respective bay and are secured using a permanently mounted thumbscrew. Once this is done, everything gets plugged in, turned on, and run through the initial setup.
