Using a Trio of 3.5″ Drives Instead

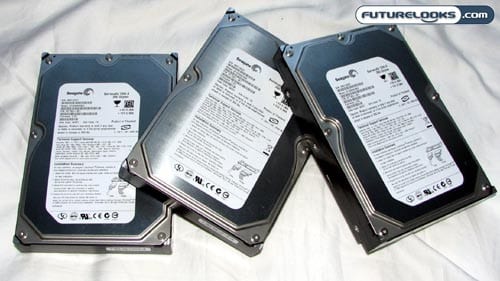
The assumption is that we will be able to achieve a higher level of performance using desktop-sized 3.5″ drives rather than the laptop-sized 2.5″ drives. As such, for the purposes of this review, we elicited the services of three Seagate Barracuda 7200.8 250GB hard drives.
The Synology DS409slim was certainly smaller than this Thecus, but the former did not provide the possibility of using larger, faster drives. The Thecus N0503 does.

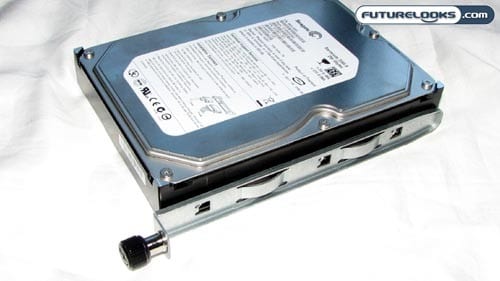
In order to accommodate the 3.5-inch platters, I had to remove the pre-installed cage for the 2.5-inch drives. That was simple enough. Then, for each of the 3.5-inch drives, I had to snap in a pair of rails. It’s convenient that no screws were necessary for this installation, since there are little tabs in the rails that fit in the screw holes of the drive.
From there, each drive slides into place in the now-empty Thecus N0503, getting secured in place by the black thumb screw on each installed rail. Easy-breezy.
On the Software Side of Things

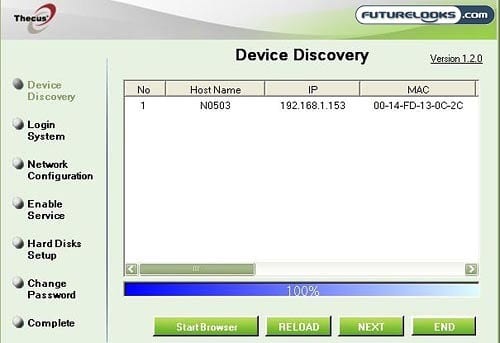
To get everything set up for the Thecus N0503 ComboNAS, you’ll need to install the setup wizard either from the CD provided or by downloading the application from the Thecus website.
The setup wizard is reasonably straightforward, giving you the opportunity to log into the system, define the gateway and IP addresses, change the administrator’s password, and so on. However, the real “setup” doesn’t happen until you access the NAS through a web browser.
Unfortunately, the setup wizard isn’t quite as automatic as I had hoped. It does not automatically detect the gateway that you need, nor does it ensure that the default IP address for the NAS (192.168.1.100) is compatible with your current network settings.
Issues Experienced During Setup
This lack of automatic configuration led to a few headaches on my part. It’s been a while since I have had to manually establish anything on my network, so I did not even realize that the default gateway was incorrect and the default IP address would not work with my D-Link router. I had to manually enter this information and manually change the IP to something that would work. This can easily be beyond the expertise of the average computer user.
Even when I did enter appropriate settings, the connection to the web-based interface was intermittent. I was able to log into the system initially, but I would lose the connection to the NAS in a few short seconds. This problem persisted for a day and then, miraculously, this network issue disappeared the next day. Go figure.
When I did finally get into the web-based interface, I saw that it was completely different from the interfaces of previous Thecus NAS products. That’s not to say that it was really any more user-friendly. Configuring the RAID5 wasn’t too much trouble to understand, but it did take about four hours with a trio of 500GB drives.
Unlike the basic setup of a RAID configuration, intermediate users might scratch their heads when it comes to more advanced features like the iTunes server. There is a PDF manual online, but considering that this is supposed to a consumer-level product, you would think that the process would be a lot easier to understand.
