- Small Footprint
- Easy to Setup and Use
- Tons of Application Usages
- Cost is without Drives
- Maximum of 6 GB Memory
Setting up the DS220+
Setting up a Synology DiskStation is one of the easiest experiences I have had with any NAS equipment I have used, and they purposely make it easy for you. When you purchase a Synology DiskStation, such as the DS220+, you will need to buy two hard drives as the DiskStations come empty. In the case of this review, we will have the two 8 TB Seagate IronWolf NAS drives to use.
After unboxing the DS220+ and placing it in a location that the DiskStation can easily access my local network, it was time to install the hard drives themselves; this is a toolless operation. That’s right; you do not need a screwdriver or anything to do this. You remove the front faceplates and pop out the drive trays. There are left and rights rails on the drive trays you pop out before you pop in your hard drives. These rails hold the drive to the tray.
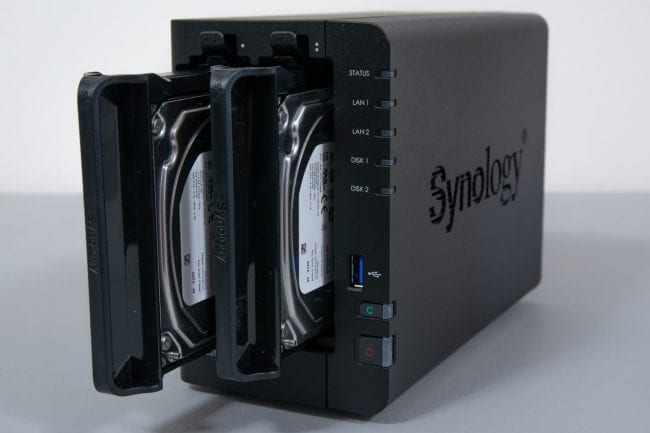
Once you slide the drives in and replace the faceplate, it is time to power up the DS220+ and start the software install and setup process.
Find Your Synology
Once the DiskStation has powered up, setting up is a quick and easy process. You load up your favourite web browser and point it to http://find.synology.com to send a request locally on your network for any Synology products that are present and listening.
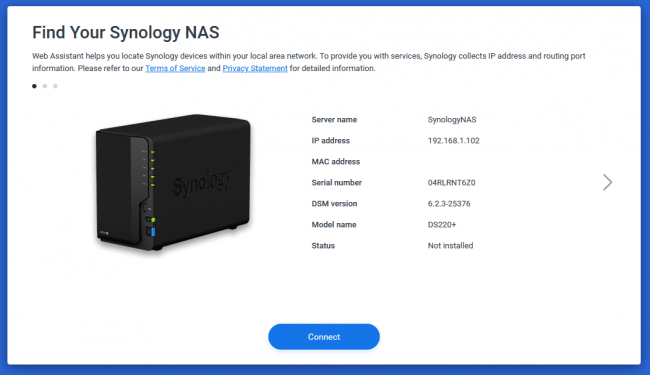
If you have plugged your DS220+ into your network, it will show up, among other Synology devices you may have.
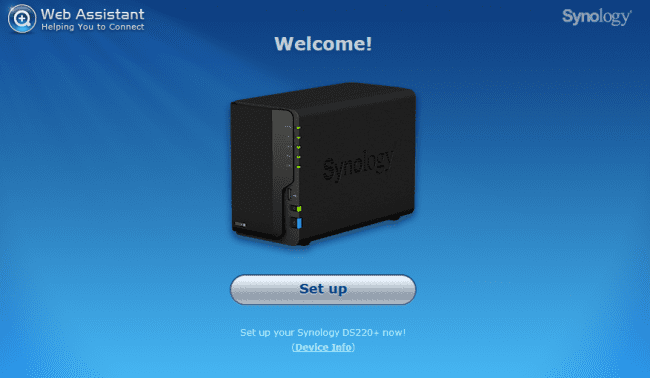
When you click on setup, chances are you will want to do the basic option, which includes downloading the latest DiskStation Manager (DSM) software.
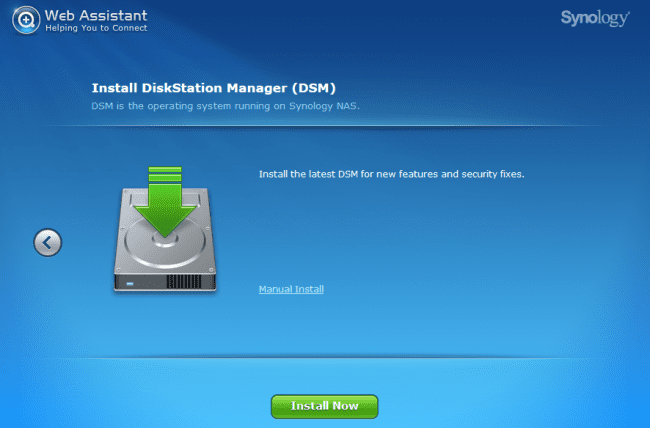

The page will ask you to create an Admin account, and at this point, you can also create a new Synology account or log in to an existing Synology Account. The Synology account can be used for their Connect+ service to access your NAS remotely without the need for setting up Port Forwarding on your router.

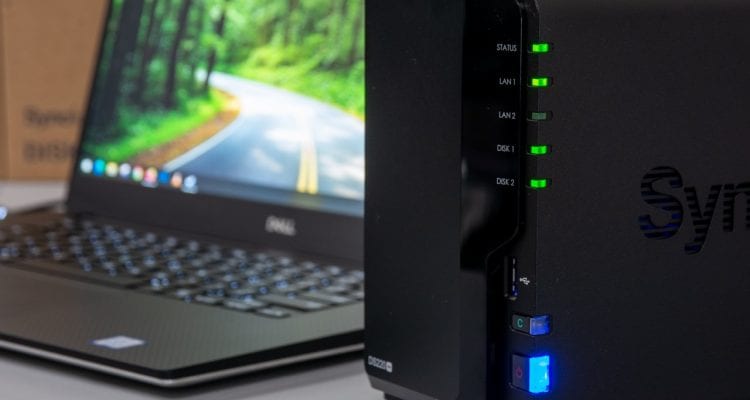
Set up is all complete! Well, not really. DSM has been installed and is running, but you will still need to create a new volume share if you want to do anything with it. When you have not yet set up a volume share, the Status LED on the front of the DiskStation will flash Orange, like it did in my case.
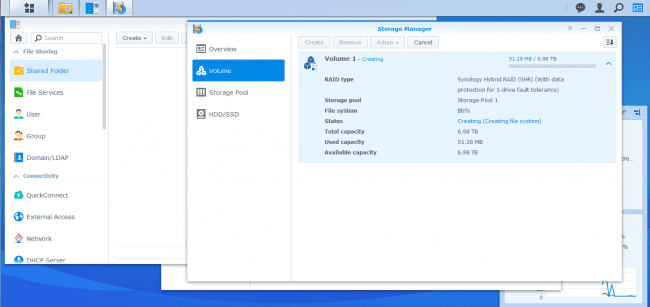
For those who are new to the world of NAS and want something that is just ready to go for the basic needs, then you can set up a new volume with Synology Hybrid RAID (SHR) with a Btrfs File System. The SHR option will allow you to quickly grow your storage pool as your data needs increase over time. It will also help with data failure, but let us hope that never happens. So as you can see from the above screenshot, the two 8 TB drives become essential one single drive with a “backup” in case of failure.
The setup is now complete!

