Intel DP67BG Burrage

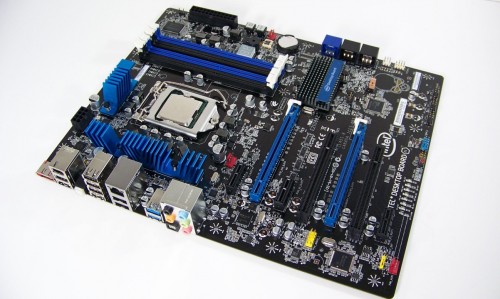
We’ve already put the Burrage to work in our Sandy Bridge launch article. Intel continues to follow its signature “Extreme Series” theme with their latest retail boards. They’ve promised that more has been done to polish up the UEFI BIOS and P67 series performance. We’re happy to see support for NVIDIA SLI return to please the gaming community. Our video below takes you through some of the more interesting things about this contender including it’s more media oriented H67 sibling.
In terms of board design, the layout seems to be the least busy of all using only proven components Intel trusts. The only issue we’ve noticed is that the CPU socket is located ever so slightly closer to the DIMM slots than the rest. If you’re using a large CPU cooler, you might run into issues installing memory that uses taller heat spreaders. Otherwise, some Kingston HyperX low profile memory like the newly reissued HyperX Genesis will get underneath those large cooling fans. However, it’s missing a couple of SATA ports and still retails for $200 USD with a fairly normal industry standard 3 year warranty like the rest. I guess we’ll see in testing if having the INTEL name will put it at the top.
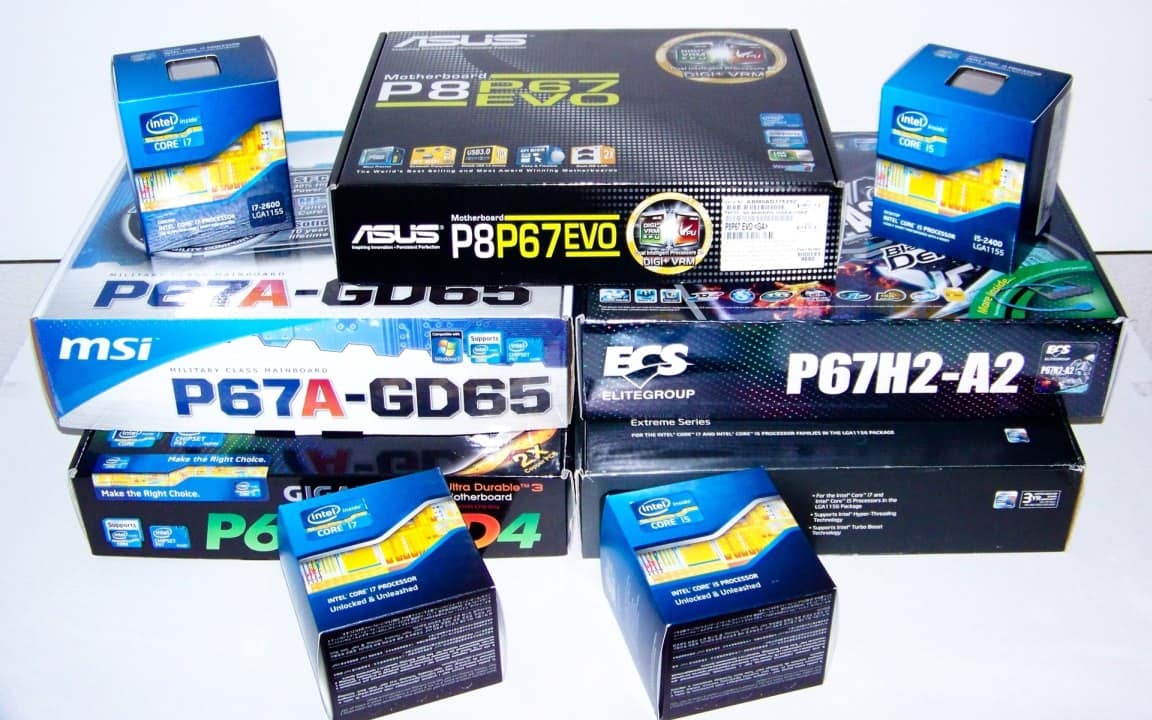
Now that we’ve introduced our contenders, let’s get them setup to do battle!
Test System Setup and Configuration
To ensure fair testing, we used the same hardware for each board in testing. Here are the hand selected components for our test rigs:
- Processor: Intel Core i7-2600K Sandy Bridge
- CPU Cooler: Zalman CNPS10X Extreme Silent
- Memory 1: Patriot Memory Division 2 Viper Xtreme 4GB 1866MHz @ 1333MHz 9-9-9-27 Stock Tests
- Memory 2: Kingston HyperX Genesis 4GB 2133MHz – *Overclock confirmation
- Motherboard 1: ASUS P8P67 EVO
- Motherboard 2: ECS P67H2-A2
- Motherboard 3: GIGABYTE GA-P67A-UD4
- Motherboard 4: Intel DP67BG Barrage
- Motherboard 5: MSI P67A-GD65
- Graphics: MSI NVIDIA Geforce N460GTX 1GB Cyclone
- Power Supply: NZXT HAL90 750 Watt
- OS Test Drive: Seagate 500GB 7200.12
- SATA2 Test Drive: Kingston 128GB V+ SSDNow
- SATA3 Test Drive: Seagate 2TB Barracuda XT
- USB 3.0 Test Drive: Rosewill RX-358-U3B (WD 2TB Black Caviar)
- Operating System: Windows 7 Pro
Following best practices for testing, the latest BIOS updates were applied to each of the test boards and all the latest available drivers as of the day of testing were used. Stock and overclocked processor frequencies were tested since it reveals each motherboard’s maximum hidden potential. The system memory was left to 1333MHz 9-9-9-27 during tests but we did use the HyperX Genesis 2133MHz kit to confirm that the motherboards did in fact support the higher overclocked frequencies via XMP2 profiles.
Installation and BIOS Notes
It’s important to maintain good quality control no matter where you are on the technological food chain. So, here are a few notes worth reading. Of the roundup, the ASUS P8P67 EVO, GIGABYTE P67A-UD4, and MSI P67A-GD65 offered the best BIOS update software. MSI’s Updater 5 is required if want something off their website quickly. It would be nice if we could locate files manually on their site without it. Also, when updating the BIOS through any motherboard, make sure you plug the flash drive in to a USB 2.0 port as it detects right away whereas the USB 3.0 may not and usually does not.
An unrelated Cougar Point issue was noted when working with the EVO and A2 boards’ SATA2 ports. When adding devices to the ports, especially SSDs, the boards AHCI feature often failed to automatically or manually detect them through Windows. While a restart always works, a BIOS fix for the EVO corrected the issue. However, the latest ECS A2 BIOS as of testing hasn’t helped.

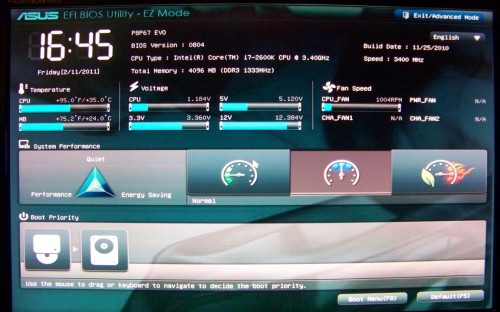
When browsing the EVO’s new UEFI BIOS, you’ll find a simple intro page with quick performance selections as well as advanced access with several more traditional style BIOS settings. It may require some memorizing if you want to get proficient. The GD65 Click BIOS was the easiest to figure out and was the most well organized of the UEFI layouts seen thus far. The Click BIOS starts you off in a simple front page and takes you to the settings desired from there. However, the mouse clicking sometimes didn’t register properly, slowing down our normally fast setups.
GIGABYTE’s UD4 BIOS setup was the least imaginative of the bunch. While underneath is the new UEFI BIOS, GIGABYTE decided to do away with a UI and went with the more familiar blue BIOS screen, allowing users extremely quick setup with just the keyboard. Depending on what you’re looking for, this may be a pro or a con but we really did wish they’d do something new and improved with the tools they were given with P67.
Our sample ECS P67H2-A2 came with several BIOS glitches that prevented Intel Turbo Tech, any CPU adjustments, and XMP memory profiles from working at all. After a little patience, we received a new BIOS that gave the board new wings. While the bulk of the issues were resolved, Intel Turbo didn’t seem to engage the higher frequencies nearly as long as the other motherboards which was evident in some of the testing.

