What’s in the Box?
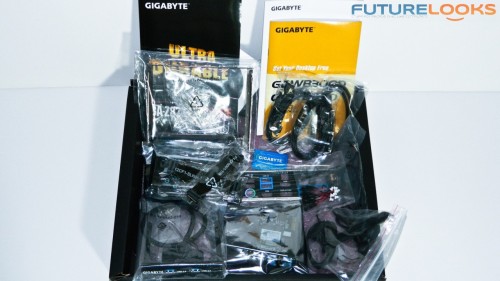
The OC Force provides a very good bundle (it’d be excellent if it came with useable software or even a video game bundle) that includes six black SATA cables, 3.5″ USB 3.0 front enclosure bracket, SLI and CrossFireX bridges, black IO shield, voltage lead wires for the measurement tweaking feature, chrome IO bracket in case your elite open tech station lacks proper support (thanks to HiCookie of GIGABYTE), and Atheros dual antennae 802.11n WiFi PCIe network card.
Granted, LN2 overclocking professionals won’t care so much about too many of the accessories, but the standard pro or enthusiast will appreciate the extra connectivity at home. System builders will also have the headroom and features they need to craft a highly overclocked system with ease.
GIGABYTE GA-Z87X-Force – Full Sized Platform
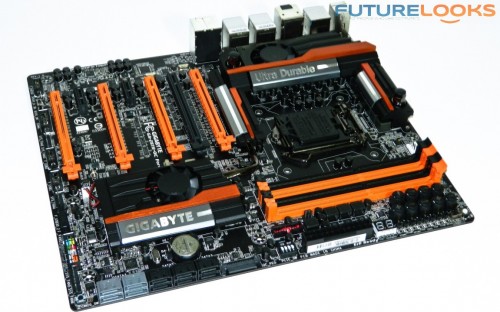
The OC Force is a powerfully designed overclocking board sporting the OC orange on black, which is very similar to the first “OC” board that GIGABYTE put out called the X58A-OC, which was designed like the OC series for pure overclock performance. That also means that this board has some extra power supply requirements.
Both the OC boards will require a PSU that has a 4pin and 8pin power connector which are found next to the CPU VREG heat sinks. Thankfully, a lower wattage 700 to 900 Watt PSU will typically have those two connectors. Otherwise, enthusiasts running 3-way NVIDIA SLI or AMD CrossFireX will naturally need the higher end power. To help with this daunting task, an auxiliary SATA power port can be found next to the SATA data ports. This will ensure steady power to all the populated PCIE ports under extreme load.
There are seven individually controlled fan headers for auxiliary cooling strategically placed around the board. That’s not counting the two CPU 4pin to support your CPU cooler. All of these are controlled through the BIOS or through GIGABYTE’s new APP Center software. Speaking of fans, you’ve no doubt noticed the main VREG and south bridge chipset heat sinks both come with fans which is helpful when pushing crazy overclocks. The VREG heat sink also doubles as a water block. Custom liquid cooling can cool the circuits off as well as potentially help with overclocking stability.
New Easy Tune and App Center
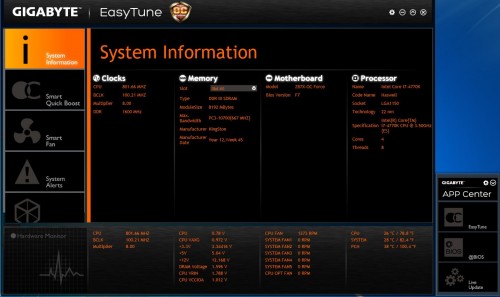
What about enthusiasts who are not quite so confident in their manual overclocking skills? Like we highlighted at the GIGABYTE Z87 launch event, users get the all new Easy Tune system control utility through the new App Center software. Finally, the DIY user has all of the software GIGABYTE offers in one location.
The software DVD includes all the current apps which installs at once. However, there isn’t a current mega-bundle on the download support page. Fortunately the App Center however does alert you when a new update is ready based on the apps you have installed.
One more oddity users are still figuring out is that the App Center must be installed if you want to pick and choose your apps. The individual apps won’t install without it. After you install the App Center, everything else gets plugged in all modular like inside the interface. A successful install puts everything in the App Center tool bar which can be accessed as long as the system is up and running.
UEFI BIOS and Overclocking Features
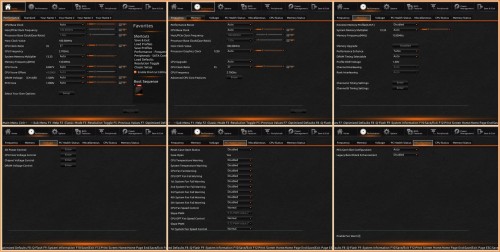
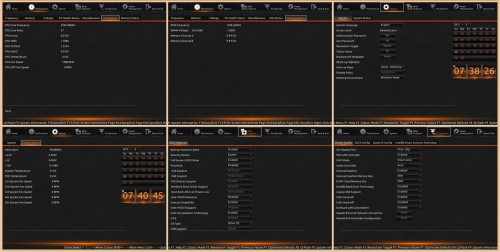
Before anyone attempts overclocking, it’s best to get to know your new BIOS. The BIOS comes in OC orange but can be customized by users. It’s very similar to GIGABYTE’s retail Z87X boards in many design respects. Of course, the OC and OC Force both have several added settings designed to control the CPU just short of rewriting its internal VREG code.
There are six main tabs: Home, Performance, System, BIOS Features, Peripherals, Power Management, and Save & Exit.
The BIOS is highly detailed. Most overclockers are going to venture in to the Performance tab. All the frequency and voltage options are present including current operating settings. In this respect, the Performance tab is a little redundant as it has multiple tabs showing very similar information. It would be easier to have both the voltage options and current voltage reports all on the same page. Perhaps future designs will be more consolidated.
Continuing with the Performance CPU and Memory Status tabs, which both show some of the redundant info. The BIOS Features tab contains mostly the integrated and IO set up options. The final two tabs include the Peripherals and Save & Exit options. The peripherals contains most of the storage settings including features associated with the Intel chipset storage options like SSD caching and Smart Connect technology.
The Save & Exit page includes another calendar, boot selection, profiles, and Q-Flash. One of the things that hurts the BIOS is the F key information that is crammed in at the bottom. The information should be easily readable on all the screens.
Now that we’ve gotten to know the BIOS, let’s put a system together and push it a little!


