Other Sweet New Features

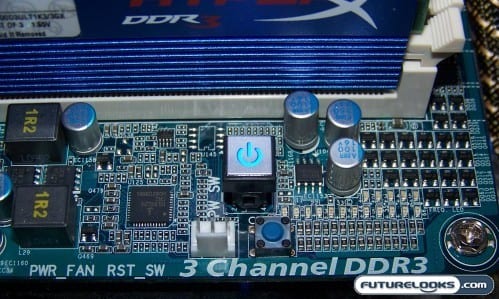
In case you have noticed, there are a few new buttons to make the journey to extreme performance more enjoyable. The EX58-Extreme offers auxillary Reset and Power buttons, but not in the regular places. These buttons are located by the memory slots. Normally, these buttons are found at the bottom of the board near the Front Panel headers. After a few minutes with the board, you’ll realize you can get your hand and/or fingers in this area far easier than at the bottom in most computer cases.

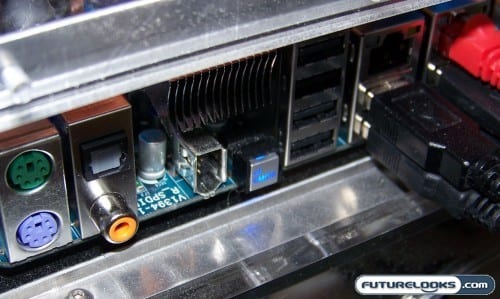
The back of the board’s I/O connectors is where the new CMOS Reset switch lives. This helps you out in the event you push something a little too far on the board and it will no longer boot properly. A simple press of the switch quickly clears the CMOS and restores the BIOS to its optimal state. Once you power the system back up, you’ll probably notice the Dual Bios resets the active chip. This means, no more dead boards!
And finally, the board gets an LED by the SATA ports that displays the board’s system initialization via the codes. All of these codes represent a component and/or function of the platform as it boots up. If the system hangs, chances are that the LED is displaying the very component that’s failing to initialize. This can also be a big help when Troubleshooting the platform if there are issues.
Some Installation Notes
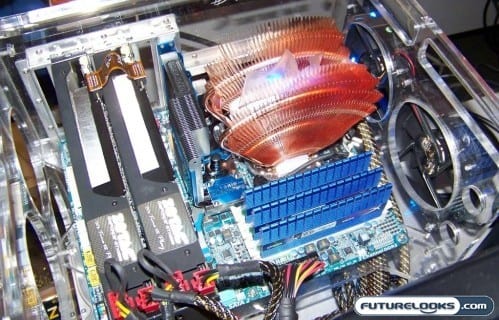
I have to say that the horizontal SATA ports are a welcomed touch. All of the large video cards fit without obstructing any cables or blocking any ports. As far as I’m concerned,this should be considered the standard across the industry.
When finishing a new system build, or just installing new memory, you can save yourself some hassle by clearing the motherboard CMOS first before powering up. The issue here was similar to some forum posts where an EX85-Extreme build produced an “Enable L2 Cache” error message at the boot screen. Since swapping memory slots didn’t help, only 1 memory stick was installed as well as clearing the CMOS again. During the next boot, the system did a little configuring and booted up without the error. At that point, all three memory modules were installed successfully without errors.
The System Setup

Now that the system was up and ready, here are the specs in case you’d like to compare your own results. Obviously, everyone’s mileage will vary depending on your components. Testing was performed with dual and single video card configurations. The latest Sisoft SANDRA build was added to the benchmark list.
- Intel I7 965 3.2GHz Processor
- GIGABYTE EX58-Extreme
- 3 x 1GB Kingston HyperX 2000 MHz Triple Channel Memory
- 2 x Zotac GTX 295 AMP! Edition Videocards
- 2 x 250GB Seagate SATA II (7200 RPM) Hard Drives
- Standard Sony DVD/RW ROM Drive
- 26″ LG HD Monitor
- Test Software: SANDRA Professional, 3DMark Vantage, Farcry 2, and Call of Duty 4.
- BIOS F4 & F5 & Latest .INF Installed
First, the system was tested at stock configurations with only one video card to get a good, stock base line level of performance. This is also a good time to fully measure up the system for stability by doing a “burn in” of the components. Even after a couple good days of stress testing, the platform remained stable.
