- Easy to expaand
- Tool-less design
- Great read/write speeds
- Expensive
- Thunderbolt cable not included
Setup and Configuration
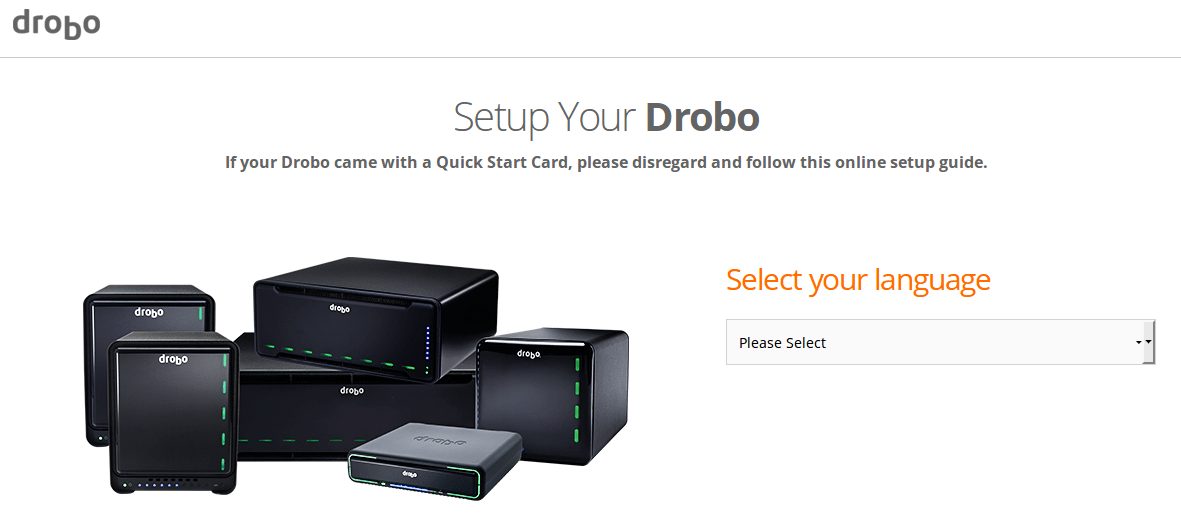
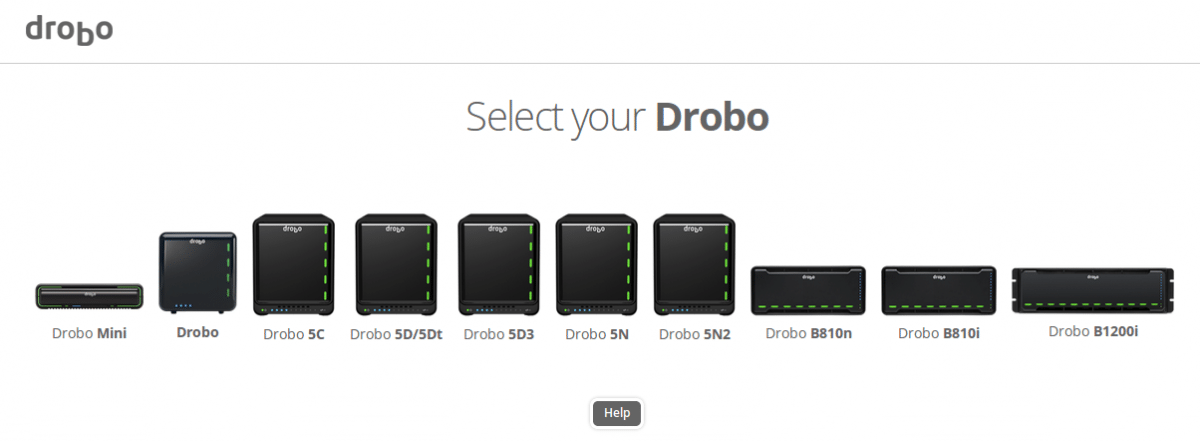
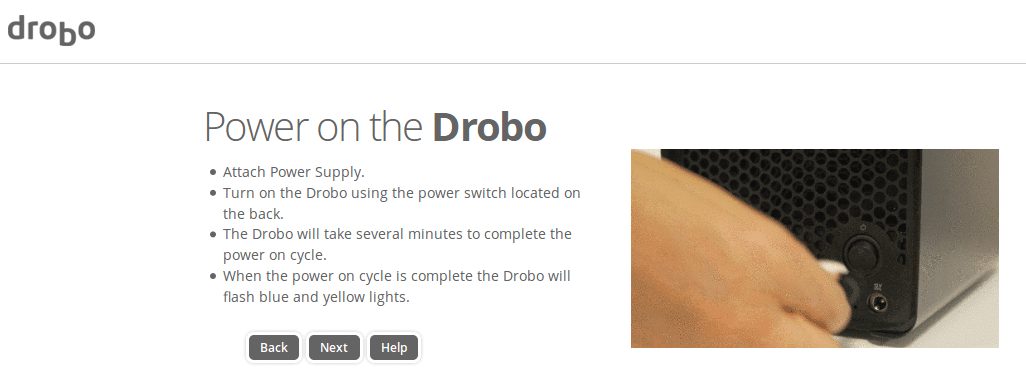
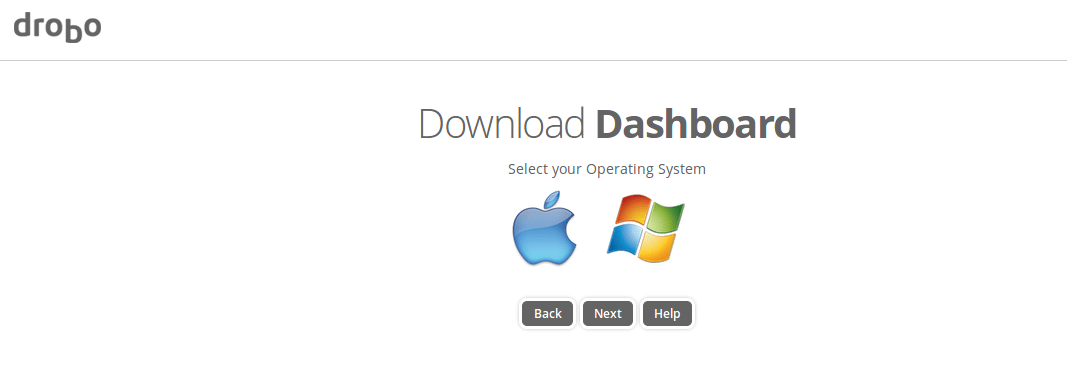
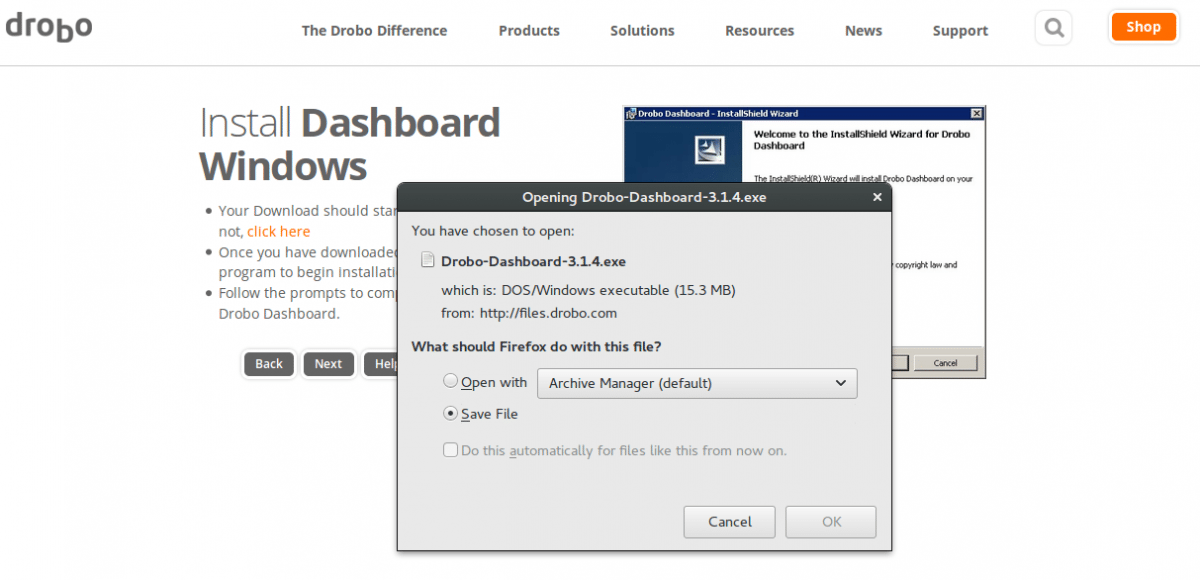
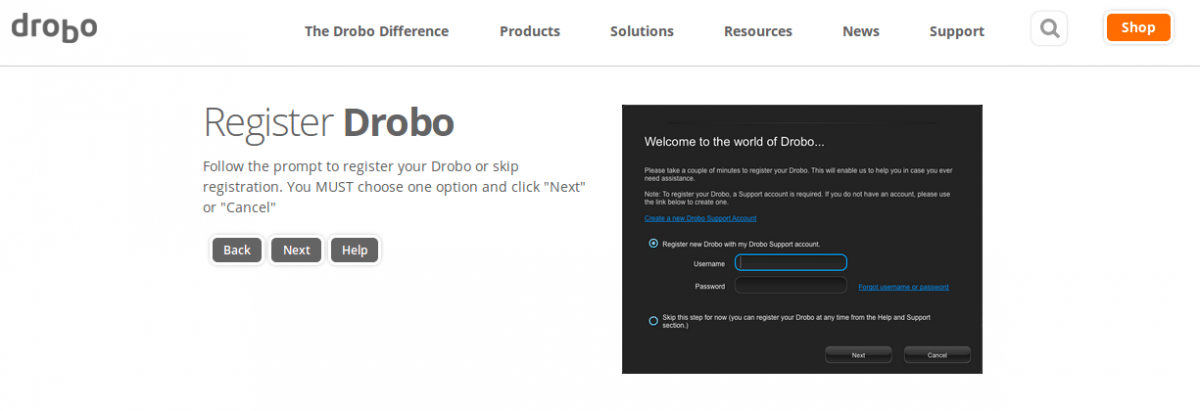
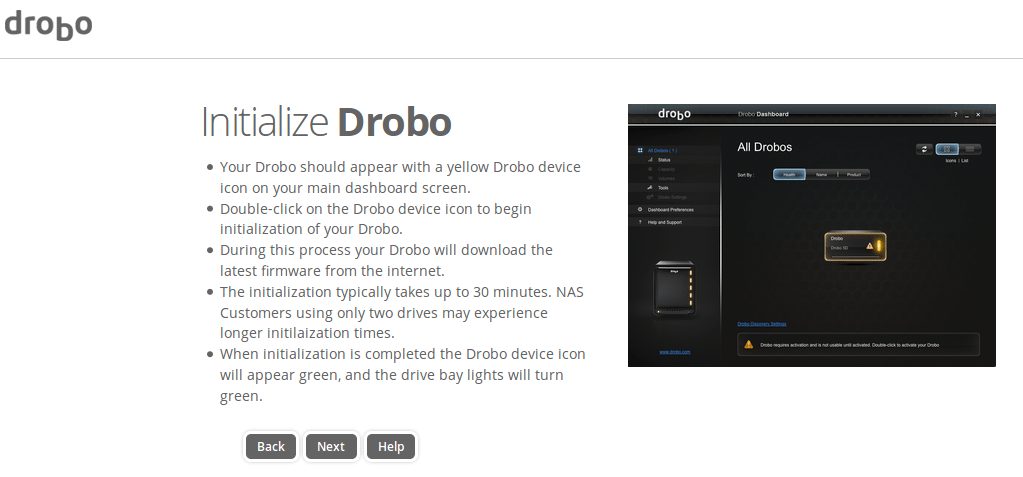
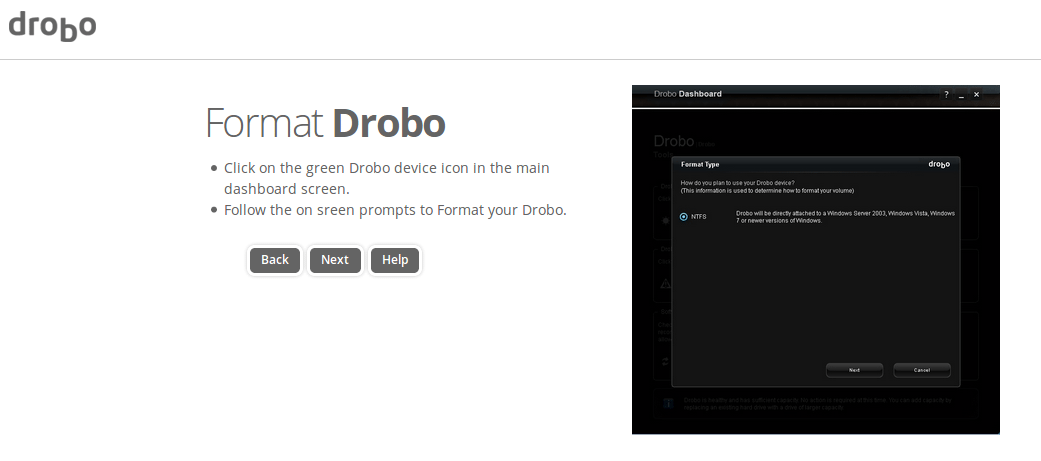
Drobo has a great online tool for setting up your Drobo. Their interactive setup is very easy to follow.
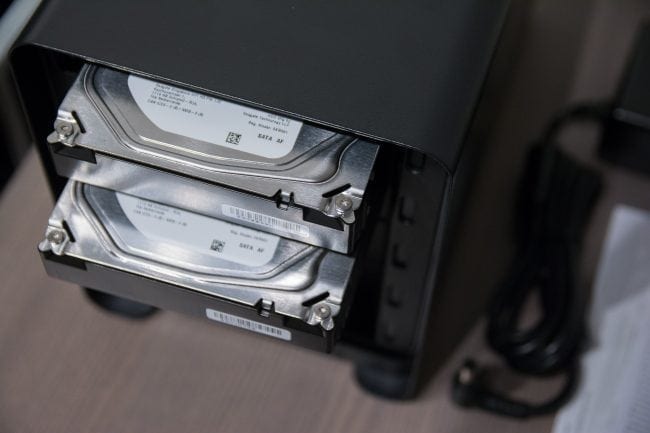
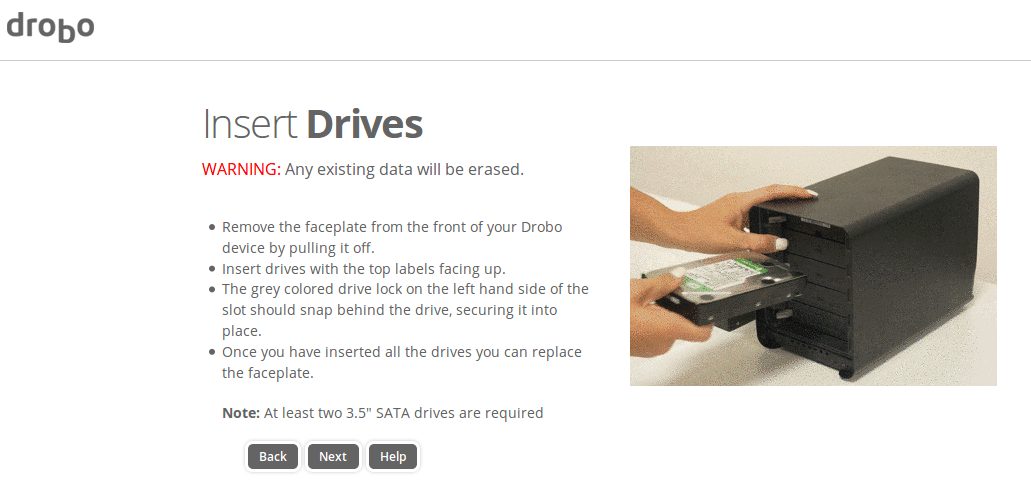
In order to work with a Drobo, you need to install at least two hard drives. To install or hot-swap drives, the great thing is you do not need any tools, you just pop off the cover and slide a drive right into the unit. Easy! As this was not a review unit (I actually won the unit via a contest on Twitter), I was not supplied with drives to test with. I scrounged up and put in two Seagate IronWolf 4 TB 3.5″ NAS drives which would, for now, suffice for my intended purposes with the Drobo 5D.
Once the drives are installed, pop the cover back, plug in the power supply on and power up the unit. It will take a few minutes to initialize the drives and you can sit back and watch the status LEDs do their thing.
When the Drobo is ready and set up, you can load the Drobo Dashboard and check it out.
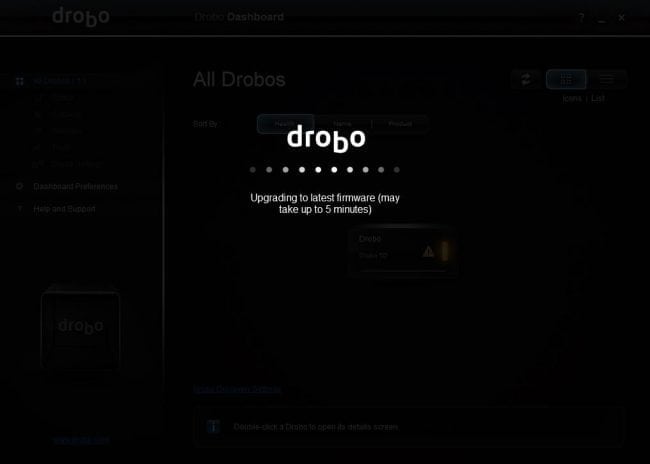
When I first logged in, it told me there was a new firmware for the unit, so of course I had it install.
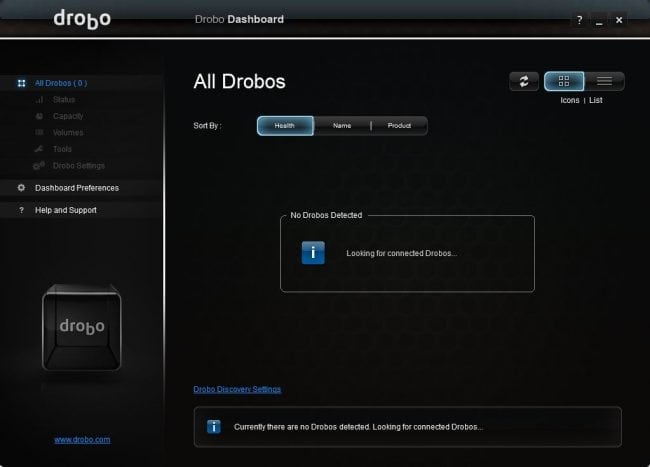
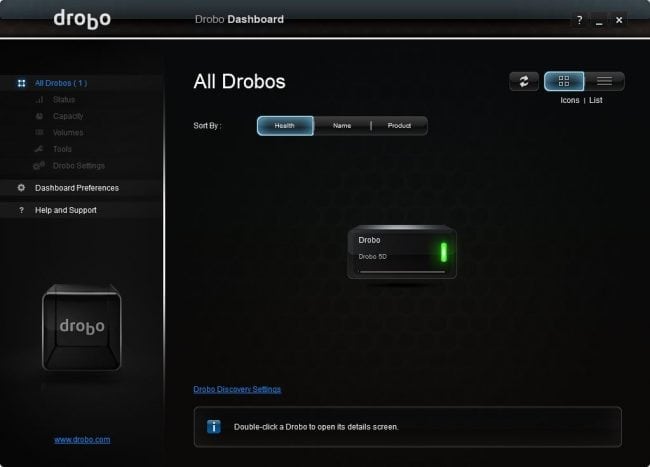
It will then go and locate your Drobo unit. Here it scans the computer for any attached external drives, then it checks the network to see if there are any Network Attached Storage (NAS) units available.
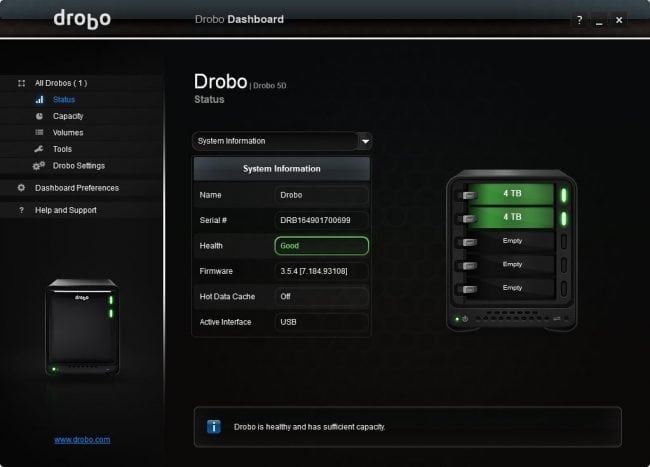
As you can see, it found my Drobo 5D. It will give you all the useful information from here: how many drives are installed, what state they are in, what capacity is being used and what is free, if there are any disk errors and more.
The LED status in the Drobo Dashboard will match that on the actual unit itself. Also the Drobo 5D displays the capacity being used on your setup with some blue LEDs on the front of the unit as well. Sort of a quick-glance feature. If there is something wrong, it will display an issue via the LEDs for which then you can look to the Dashboard for more information about the issue it has found.

