Closer Look
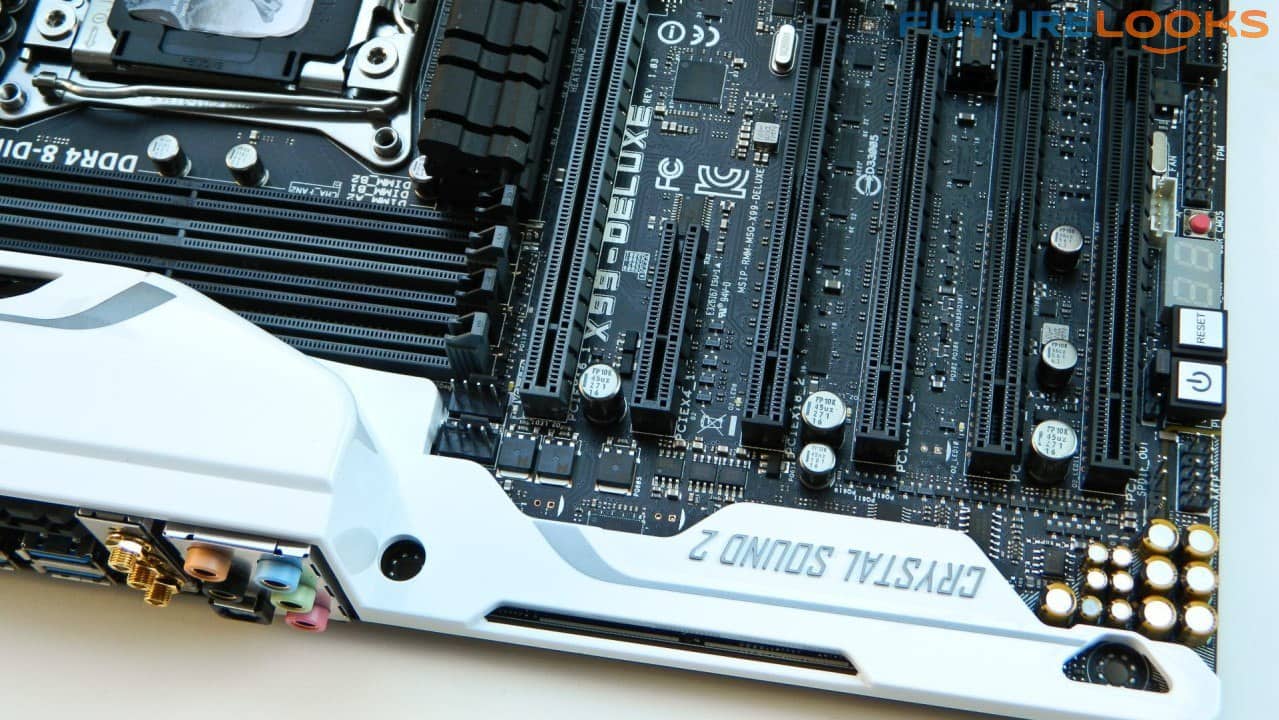
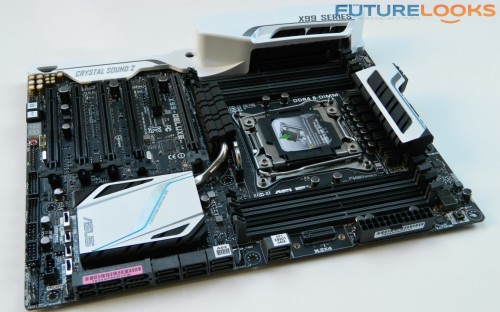
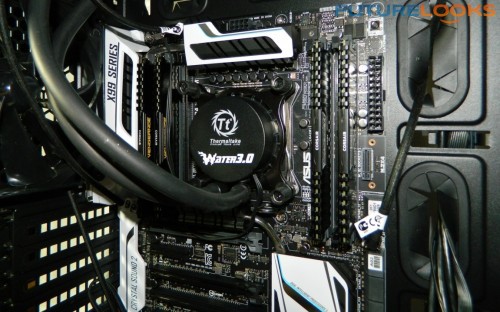
First off, the white shielding and heat sinks are especially nice. Subjectively, most every onlooker has said they like the white on black theme far better than the previous gold on black. Only one or two people have stated they really didn’t have a preference. Personally speaking, the theme is really nice but there aren’t many memory kits or coolers that match. Hopefully, kits will start coming out in an “arctic white” motif and in DDR4.
You can see there are five PCIe slots and one x4 gen PCIe slot. There are a lot of PCIe lanes (40 total) which means there’s a lot of bandwidth available if you plug in several PCIe x16 or x8 devices. Provided that you are using the right processor as lower end Haswell-E parts (like the 5820K) will limit the lanes to only 28.
Now that we’ve had a good look at the hardware, let’s get setup for testing!
System Setup Notes
Since Z87, there have been a few industry wide odd USB glitches. Especially in regards to drivers and port activation. This is when an old school PS2 mouse or keyboard comes in handy. If your USB devices are active in the BIOS but not active when booting to Windows, you have an OS-USB driver problem. If your devices are dropping without reason, it may be the BIOS.
We found the rear IO USB ports refused to detect a few of the USB gaming headsets in the lab and slow to detect a Corsair K70 keyboard and Vengeance mouse. Hopefully, these can be rectified quickly as this can ruin a user’s experience, if they don’t have a box of peripherals to play around with.
If you ever run in to these issues, you can often boot in to Windows’ Safe Mode with Networking (F8 at BIOS Boot) and more often your USB devices will work so you can at least download and install the latest drivers. Keep all this in mind if you’ve mirrored your drive using Acronis or similar software, or if you’ve run in to similar issues.
Here’s the test system today…
- Processor: Intel Core i7-5960X Haswell-E
- Motherboard: ASUS X99 Deluxe (as tested)
- Memory: Corsair Vengeance LPX 16 GB 2800 MHz DDR4
- Graphics: NVIDIA GeForce GTX 780 3GB
- Storage: Kingston HyperX Fury 240GB SSD
- Storage Tests: Thermaltake X5 USB 3.0
- Power: Thermaltake ToughPower 1200W Gold
- OS: Windows 7 Pro (fully patched)
- Peripherals: Corsair K70 mechanical keyboard, Mionix NAOS 3200, Corsair Vengeance M65, Gamdias EROS Stereo USB headset, Triton USB 7.1 headset,
There were only minor software installation glitches using the ASUS’ all-in-one bundle. The system blue screened a couple times at the end of the installation. While it couldn’t be 100% attributed to a Windows 7 Pro or driver glitch, the software would install individually after reboots. The issue could be reproduced which may be just early driver hiccups.
Lets take a look at the updated BIOS and see if it remains truly user friendly.
The New ASUS X99 Deluxe BIOS
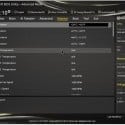
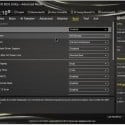
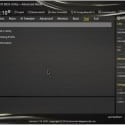
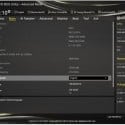
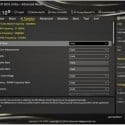
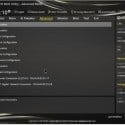
The ASUS UEFI BIOS gets some new updates. Overall, ASUS’ BIOS still continues to be a very detailed, logical, and for the most part, informative experience. Like all BIOS, this one will take a little practice to master given some of the architectural changes to Haswell-E like the use of straps.
The intro page contains all the pertinent options needed to just get set up from controlling fans to setting up the boot order. It also includes EZ System Tuning which offers Normal performance, ASUS Optimal, which is slightly boosted performance, and Power Saving, which can shed unused, unnecessary wattage.
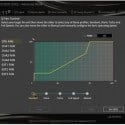
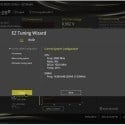
Similarly, the EZ Tuning Wizard (F11) feature shows your system configuration, lets you select your PC scenario (daily computing or gaming/media encoding), has you select what type of CPU cooler you’re using (very important for overclocking), and then shows you the estimated overclocking result. In our system, it revealed a 32% CPU and 43% DRAM performance increase with the parts listed above.
Results will vary greatly depending on your CPU and other components. But let’s have a look at some other features that can push your overclock even higher!
ASUS AI Suite and Overclocking
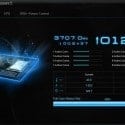
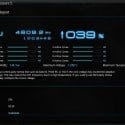
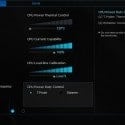
While AI Suite III receives updates to support Haswell-E, it’s the Dual Intelligent Processors 5 (DIP5) program that is of particular interest to enthusiasts. DIP5 does a great job of helping automatically overclock your system. Unfortunately, it displayed the incorrect temp during testing in the lab, which may be some early software glitches not worked out yet.
To start the process, simply press the 5-Way Optimization button and the system will take about 15 minutes or so to find a stable overclock. At first pass, our Core i7-5960X reached 4.7 GHz on the ASUS X99 Deluxe, except it wasn’t 100% stable so the system backed down to 4.6 GHz where it was able to run benchmarks and load tests. And, of course, users can flip the TPU switch to get a bit more CPU frequency.
Granted, it’s a conservative overclock but it’s 100% stable, and pretty good for an automated attempt.
Additionally, Turbo App List (TAL) allows users to add an .exe (or program executable) to the list, under certain overclocked conditions. For example, when you activate the program .exe, the TAL will automatically overclock your system to whatever frequency you assign to each corresponding .exe. So, games or project software can get more performance quickly if needed, without having your system pushed 24/7, and wasting power.
Now that we’ve gotten a good idea of how the setup process and BIOS/software look, let’s see how all this performs!

