The ASUS P7P55 PRO Up Close

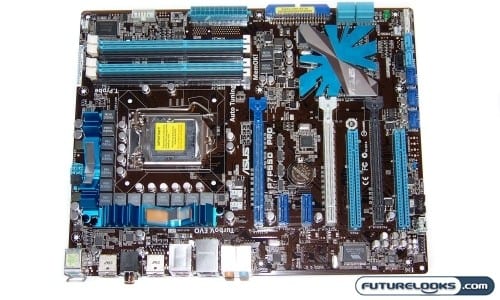
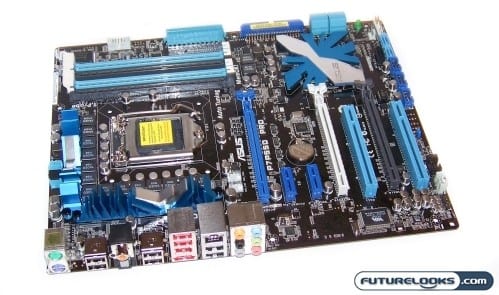
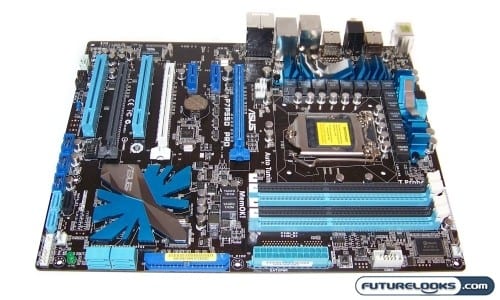
The Pro is yet another sexy all black PCB motherboard. It’s really easy to make a system look cool inside a computer case with a window given most computer components also come in black. You’ll find black, light blue, dark blue, and one white PCIE socket in use. We get the the blue on black concept, but the light blue keeps it from looking too much like the Intel DP55KG which uses similar colored sockets and heat sinks.
It’s pretty interesting to see how these sinks have evolved over the last 5 years. You can see that engineers got a little more creative than Intel using an abstract south bridge chipset heat sink. It’s low enough it will easily miss interfering with any expansion cards. Even the PWM circuits right next to the 16 Phase VRM circuits get a pair of beefy, blue and silver 2-tone sinks that give the board a more aggressive look.

At first glance, you might only see 4 horizontal SATA ports. But, at the bottom, you can see two more standard socket SATA ports which doesn’t include the two rear eSATA (external SATA) ports handy for those who have some external storage drives. Otherwise, it’s all supported by up to 14 USB Ports with 8 back panel ports and 6 on-board ports. That should be more than enough for any desktop user.
Naturally, the Pro offers dual x16 PCI Express 2.0 lots with a third PCIE x4 slot at the bottom. Since PCIE is the mainstream, you get two x1 slots and two light blue PCI slots. Rest assured you’ll get full performance x8/x8 interface. Keep in mind that x8/x8 performance is slightly different at super high resolutions. And even then, it’s not enough to write home about.

Alas, if you look carefully at the top of the board right next to the 4 DIMM slots, you can see the MemOK button in the default position. If the memory you install fails to boot for whatever reason, or you push the memory’s frequency a little to high, simply power off the system and use the switch to get the board to auto configure in the BIOS. This feature should darn near be an industry wide requirement. This would aid countless new, unskilled users in getting their system up and running out of the box.
Moving on to Installation
A nice fresh OS image was used to produce the best possible test results. The Kingston 64GB SSDNow V+ solid state drive made quick installation of the drivers and utilities. There were no unusual bugs or issues to note during installation.
After a quick browse of the BIOS, it was easy to see the similarities between the overall layout especially in regards to overclocking. Dare I say, the BIOS is set up a little bit better than the recently tested GIGABYTE GA-P55-UD5. It’s nice when there are no duplicate settings on redundant pages. It keeps things easier to understand and stream lined.
Here are the test system specifications:
- Intel Core i7 870 “Lynnfield” Processor
- ASUS P7P55 PRO Motherboard
- MSI P55-GD65 Xtreme Motherboard
- Patriot 2 x 2GB 2000MHz Sector 5 Memory
- Zotac Geforce GTX 295 1792MB Graphics Card
- Kingston 64GB SSDNow V+ SSD
- Antec CP850 Power Supply
First, the MemOK was tested. The motherboard defaulted the memory to 1333 MHz with 9-9-9 timings which is the correct AUTO memory settings. Though these are obviously not the correct memory timings of the modules themselves, the system did boot up right away without issue. Selecting the XMP Profile in the BIOS, produces the correct results. Love it when a board and memory play well together.
