An Extreme X58 Presentation
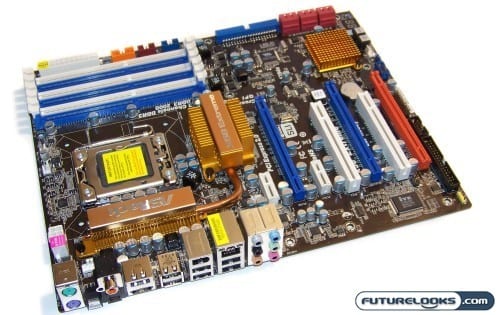
Alright, here we have the X58 Extreme in all its dark and mysterious glory. Overall, the board offers a pretty consistent “extreme” theme. It sports a very dark brown PCB that appears black without any direct light. Aside from a few bright, orange slots, the new look gives ASrock a new image that will attract the enthusiasts.

As for the component layout, we have a winner here. Everything looks to have a proper working place. All the headers, buttons, and jumpers are clearly visible. The 24-pin power socket, Case Front USB, Firewire, and especially the Front Panel Header sockets are in a great spot right up front which should cut down on wire clutter. Essentially, any socket that can receive a cable is placed on the outside edges and in an area commonly needed.
The Northbridge and PWM circuits are fortunate enough to get the benefit of some substantial cooling in the form of heat pipes attached to heat sinks. It’s the same ‘L’ shaped configuration found on the SuperComputer and Deluxe model X58 boards in the ASRock line up.

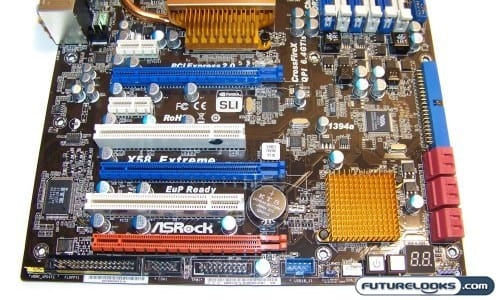
The two PCI Express 16x slots are dark blue so you can easily figure out which ones are best for SLI or CrossfireX configurations. The included SLI bridge spans the space perfectly. The orange PCIE 4x is there at the bottom for more expansion cards if the need arises. Couple these with two PCIx and two PCI slots and you shouldn’t have any problems finding a spot for even more expansion.
It’s interesting to see ASRock offer an IDE and Floppy header. A lot of vendors are getting away from using these. I can see why they would continue to offer the feature since there is still a lot of legacy hardware floating around out there. But, on the same note, users buying these X58 platforms are usually pretty serious about their hardware and know legacy hardware just slows down performance.

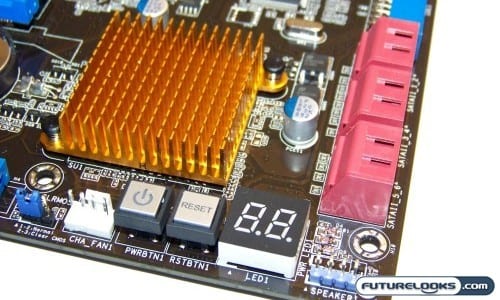
You’ll find other useful features like horizontal SATA/IDE ports, LED display, and power/reset buttons among the board’s features. These kinds of SATA and IDE ports are an essential requirement these days since they ensure wires won’t get in the way of large video cards. The power/reset buttons used here are actually nice, classy looking buttons which add a touch of quality. They look a lot like the ones found on some high end motherboards.
The LED is just a nice touch since it can be quite useful in helping one configure and/or trouble shoot their system based on the codes displayed should the system fail to boot. It’s also within inches of the CLR_CMOS (Clear CMOS) header if the code indicates a boot error. You don’t have to go searching for the jumper to reset the system. Again, this is another nice quality touch.

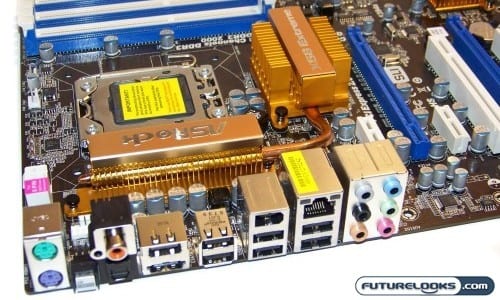
Checking out the IO ports on the back, the 6-Port Audio, USB, PS2 ports are pretty basic. The extras worth noting are the eSATA ports, Coaxial/Optical SPDIF ports, and the lonely , yet extremely valuable, CMOS Reset button. While eSATA is great for faster-than-USB2.0 devices, the Optical allows you connect your system to a more substantial audio system for surround sound goodness.
As for the CMOS Reset Button, this is an extremely welcomed feature and again should be a standard on any enthusiast grade motherboard. Once your system is built, it really saves you from the time and hassle of opening your case to clear the CMOS as you begin tweaking, or overclocking, the system. Next, let’s hook it up!
