Onto the Install
First thing to go into the case is our Asus A7V8X-X ATX motherboard. Following the legend, we installed all of the necessary spacers. The motherboard slid into the case easily and all of the screw holes lined up with our installed spacers making installation of the motherboard a snap.
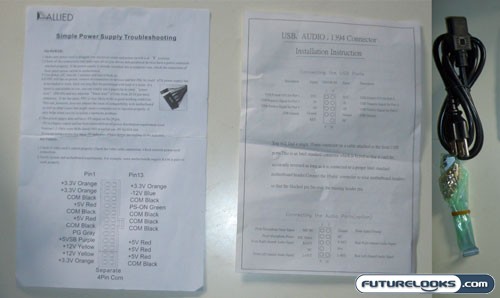
Plenty of hardware was included to get the job done and the installation “papers” did come in handy as a guide to the different power and motherboard connectors. Every connector was described and so our installation involving these items went off without a hitch. Well, maybe just one thing bugged us which we’ll get into later.
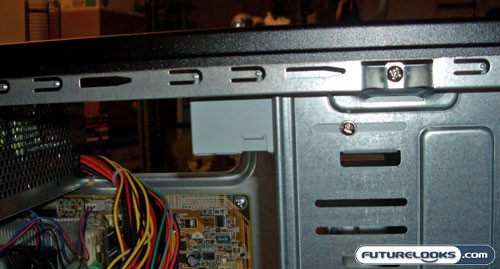
We wanted to install the optical drive on the top drive bay. To install the drive, we either had to remove the power supply, or remove the front bezel to make room. I decided that it was easiest to remove the 4 plastic clips on the front bezel and then slide the drive into place. Using a flip down drive cover, we had to line up the eject button with the button on the case. Once everything was lined up, we secured the drive to the case. So far so good.
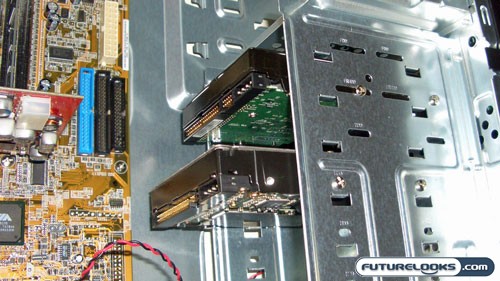
We installed 2 hard drives in 4 of the available 3.5”drive bays. The screw holes were also labeled on the drive bays making installation very simple and trouble free.
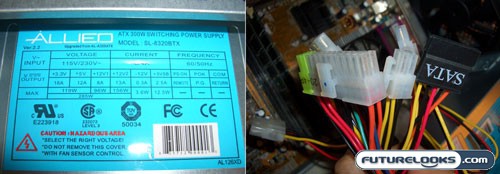
Once all of our components were secured in the case, we installed the device to motherboard cables and then worked on the power. All of our usual power connectors were here to play affixed to the included Allied power supply rated at 300 Watts. This may be adequate for the videocard that we are installing (Radeon 9800Pro), but if you’re lucky enough to have an SLI video card setup (though not likely in this case), you may need to look at upgrading to a power supply with something beefier.
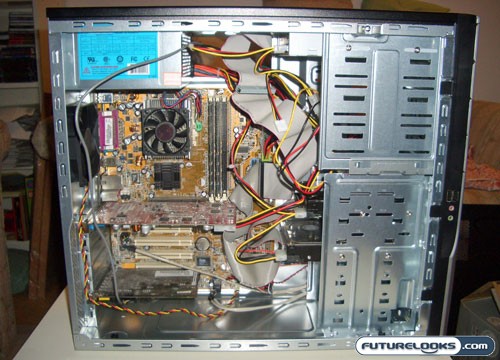
Another problem that I ran into was the length of the peripheral power cable. With a Radeon 9800Pro, we required an external peripheral power cable. The supplied cable was too short, but luckily, I had an extension cable from another power supply. With everything in place, we cleaned up the wiring and cables and was ready to close up the case. It’s pretty clear that this case was really meant for a budget, low end build.
