System Setup
In order to simulate a mid-range system suitable for this case, we put together the following components:
- Intel Quad Core Q6600 processor
- Foxconn P9657AA motherboard
- Patriot 2 x 1GB PC-6400 DDR Ram
- Seagate Barracuda 7200.10 250GB SATA300 hard drive
- Leadtek WinFast PX7800 GTX TDH 256MB Videocard with Arctic Cooling Accelero X1 cooler
- LiteOn 20X DVD+/-RW SATA Drive
With Quad Core processors becoming more common-place, its inclusion was not a mistake. This should also help us figure out if the case is capable of handling increased temperatures, while keeping to its quiet computing roots. Our operating system of choice was Windows XP SP2.
Installation and Setup
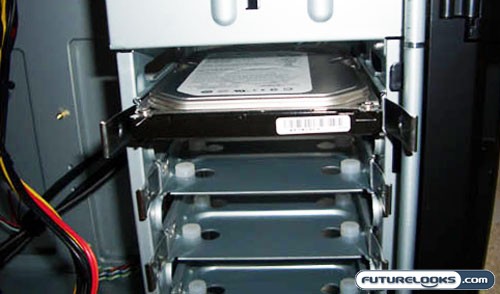
The orientation of the hard drive bays allows for a much tidier installation of your system. The power and SATA cables were routed in behind the cage and were kept out of the way of the motherboard.

Securing the hard drive to the rail and sliding it into the bay is done easily. In my opinion, this design is far superior to other cases that orient the HD connections to the rear of the case. It also serves to keep the cables out of the interior of the case and provides for more room to allow longer expansion cards like audio and graphics cards, to co-exist.

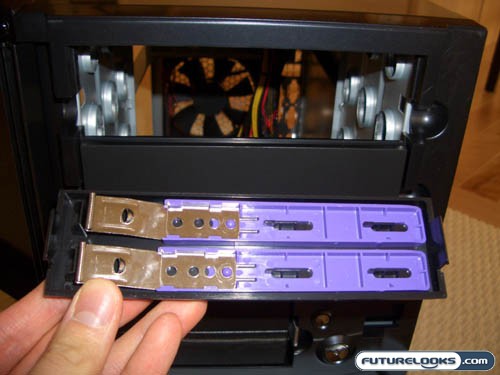
Next up is the optical drive. With finger holes on the front 5.25” bays, removing the cover again proved very simple – just unclip and remove. Mounted on the rear of the cover are the mounting rails for the drive. Simply screw them into the optical drive with the provided screws and slide the drive into place. Unfortunately, there only seems to be one set of these in the box, so if you need more of them, to mount a second optical drive, you’ll need to call up Antec to get some more. However, most people install only one optical drive, so we won’t hold that against them.

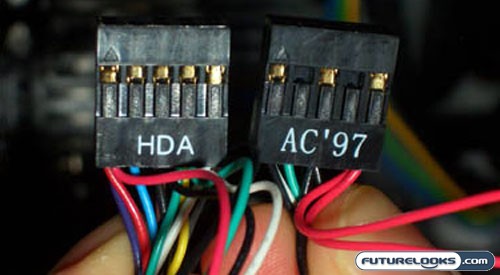
With the motherboard in place, installing all of the front panel connectors proved to be a cinch. One particular detail that I would like to mention are the connectors for the HDA and AC’97 audio connectors. With other cases, each wire is on it’s own mini connector. With the Sonata III, the connector came pre-assembled, just plug it in and your ready to go, no need to figure out which connector goes on which pin.

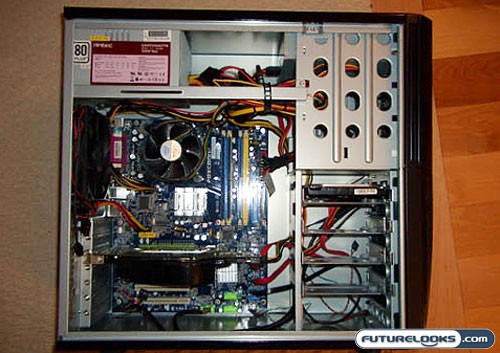
With all of our components in place, we worked on putting together all of the power connections. The Earthwatts power supply came with more than enough connectors to satisfy this system and enough length to route the cables neatly to its appropriate component. The built-in holes on the case allowed routing of all cabling to be tucked in behind so as to not impede any airflow. It also allows for a cleaner looking installation.
Using our included cable strap, all of the power cables were secured to the support bar. This will prevent them from dangling down into the case making for a sloppy installation and affecting air flow. With everything nicely secured inside the case, we were ready to close it up and start testing this rig.
