Our System Setup
To test the Antec Skeleton, I installed my standard test bed into it and documented the process. My current test bed consists of the following components.
- AMD Phenom 9850 2.5GHz Quad Core CPU
- Asus M3A32-MVP Deluxe/WiFi-AP 790FX Motherboard
- Corsair Dominator DDR2 4GB PC2-8500 RAM Kit
- ZOTAC GeForce GTX 260 AMP! Edition Video Card
- Western Digital VelociRaptor 300GB 10000rpm SATA2 Hard Drive
- Western Digital Caviar SE16 640GB 7200rpm SATA2 Hard Drive
- GELID Silent Spirit Quad Heat Pipe CPU Cooler
- Thermaltake Toughpower 1000W Power Supply
A couple of additional simple tests were then performed. Over and above the experience of installing a system into this case, we also tested the thermals and acoustics of this enclosure. Thermal testing was done using OCCT to place stress on the CPU, and acoustic testing was simply done using a dB meter.
Installation and Assembly

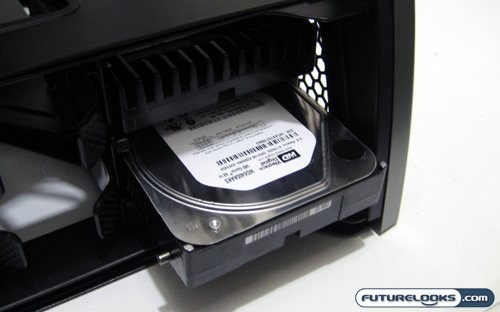
Drive installation was this first thing on the list that needed to be done, and it also proved to be the easiest. As noted earlier, the drives are mounted on a rail system that still requires some screwdriver work. That is because the rails are only made effected by the installation of a screw-on bolt that fits within the rail. The drive is fairly snug, but you can then further secure on the other side with some included screws. The 5 1/4″ optical drives are installed in the same fashion.

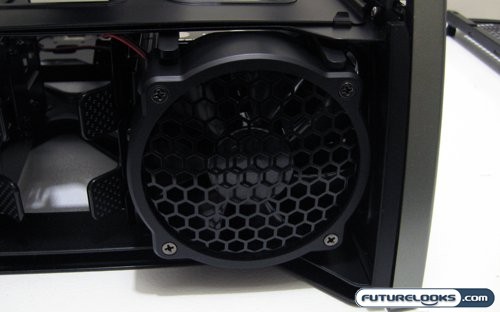
Once the hard drives are nestled into their racks, you can then install the fan that will be cooling them. This 92mm unit promises to be as silent as the 250mm big brother on the top of the case, though it lacks the latter’s 3-level speed adjustment. Still, once everything is installed it’s fairly secure and the case can be easily moved without risk of losing parts along the way.

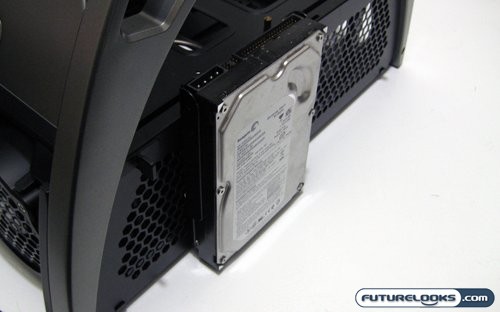
For those that want to install more then two hard drives into their Antec Skeleton, Antec has provided four additional hard drive racks that hang off the side of the case. They literally just hand there on little hooks, without any screws or anything to hold them in place. This is great for a temporary solution (like those still unfortunate enough to need to still quickly us a floppy drive), but it quickly becomes worrisome should you need to move the system.

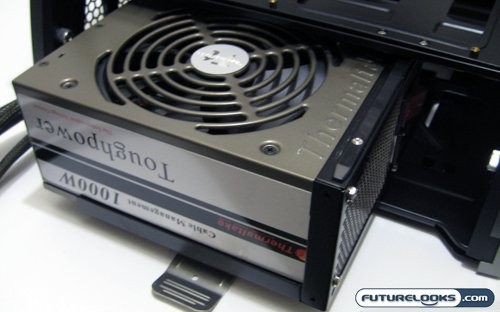
The power supply placement at the rear of the case is another example of a good idea with a minor caveat. Mounting the power supply this way does lead to some problems with cabling. Specifically, it’s difficult to plug in the wall cable to power socket on the power supply, meaning Antec should look into the inclusion of a right angle adapter. Also the extra depth of a high wattage PSU makes for some cramped quarters for the cables connected to it. A modular PSU is strongly recommended with this case. Still, the mounting of the power supply in the Antec Skeleton is preferable to the alternative, which would require the case to be much bigger front to back.
Real-Time Price and Stock Check – Find More ANTEC Products
