Test System
I thought the best way to give the Antec P182 Mid Tower a complete workout was to install my other test rig. This rig was, at one time, a top of the line gaming rig, and includes the following components:
- AMD Athlon 64 FX-62 2.8GHZ Processor
- Cooler Master Hyper 212 CPU Cooler
- Foxconn C51XEM2AA-8EKRS2H NVIDIA nForce 590 SLI Motherboard
- eVGA GeForce 7900 GTX 512MB PCIe Video Card (x2 in SLI)
- OCZ Platinum XTC REV.2 PC2-6400 2GB 2X1GB DDR2-800 Memory Kit
- Seagate Barracuda 400GB 7200.10 16MB SATA2 Hard Drive (x2 in RAID0)
- Thermaltake Toughpower 1000W CrossFire Power Supply
The rest of the case was left stock, as Antec provides three Tricool fans with the case. Before I could get to installing the guts, I had to install drives first.
Component Installation

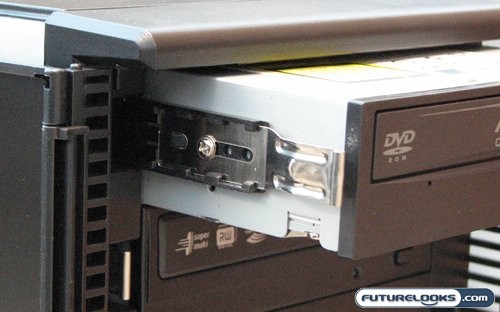
First on the list of parts to install was the drives. Antec uses a rail mount system for all external drives in the system. Unlike some cases, sliding the drives into the Antec P182 does not require removal of the front bezel. Once the rails are screwed into place, the drive is slid in and secured without the need for any tools. To make sure your drives sit flush there are several mounting holes on each rail, though drives with strange offsets might still stick out or sink in.

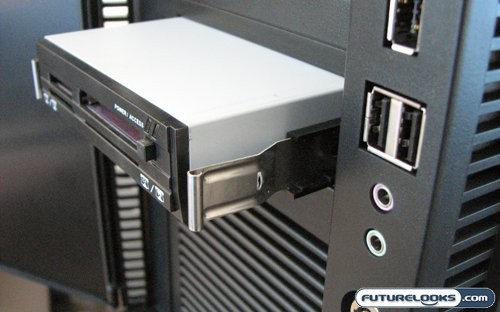
Antec also provides a single external 3.5" bay between the upper and lower 120mm fan. This is handy for those unfortunate enough to still need a floppy drive for their system. Should you be lucky enough to have moved beyond the little floppy, the bay is also great for a media card reader.

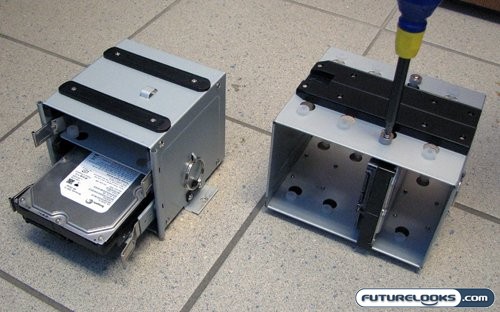
Continuing with drive installation, we move to installing hard drives into the upper and lower racks. The mounting holes on both racks have some very thick silicone washers, which are intended to completely eliminate any vibration noise from the hard drives. In the lower rack the drives are installed vertically, allowing installation of up to four drives. The upper rack only has room for two more drives, both mounted horizontally on removable trays.
All the drives were installed without issue. Once that was completed, I proceeded to install the internal components and run all the cabling. This is where things really started happening.
Real-Time Price and Stock Check – Shop Like a PRO!
