What’s Inside the HALE90 V2 1000 Box?
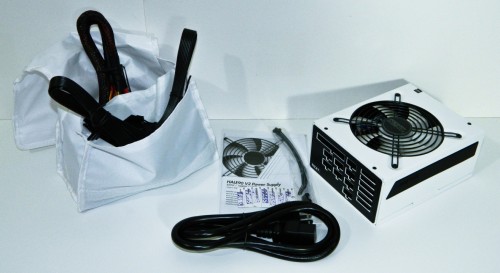
Consumers will find the foam enclosed PSU, white modular cable bag and standard black mounting screws included inside a zip-tie baggy. I’m not a fan of zip-ties unless I fully intend to run the system unchanged for at least a couple years. Otherwise, it’s always a bonus when a PSU comes with very inexpensive Velcro straps. The cable bag is packed with all the extra modular cables you’ll need to wire up a system. It’s handy for keeping them together for later use as well, especially since we almost never use all of them initially. Just find the bag and there they are.
The cabling chart for the NZXT HALE90 V2 1000 on the product page doesn’t list the lengths of the cables. And, we all like to know cable lengths just in case we’re building something specific. You’ll be happy to know they’re longer than the original HALE90 1000-M unit by several inches. The 24pin, 8pin and PCI Express cables are all 27 inches long which means they’ll work in most computer enclosures except full towers. All the other peripheral cables are 32 inches long which typically works all the time. Just in case they don’t, sleeved extensions are all the rage and NZXT sells a start kit too.
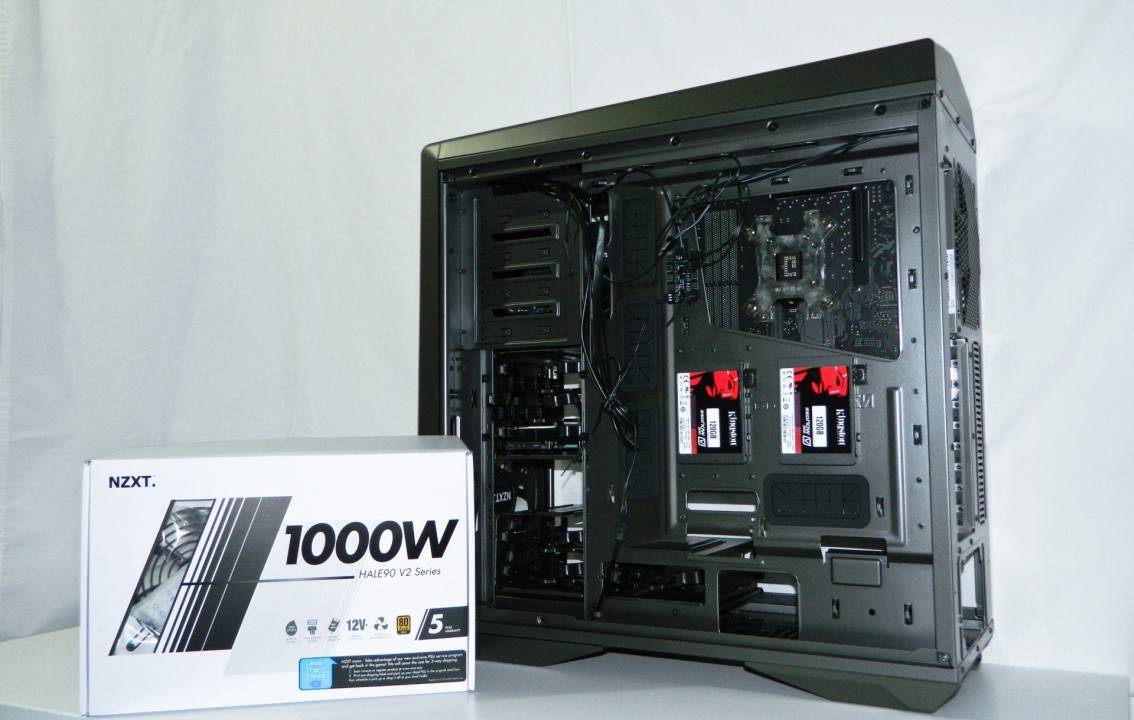
Let’s turn our attention back to the Phantom 630 for a second…
Phantom 630 – Up Front
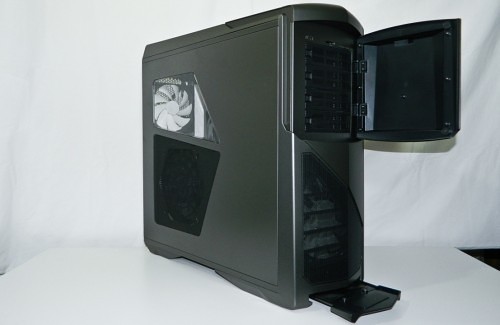
The Phantom 630 has very nice curves. If this was a center piece in a company lobby or front desk, it would really suggest that high tech work happens. It’s one of those computer enclosures that everyone looks at whether in the home, office, or LAN party. This has been the signature of the Phantom ever since it hit the shelves.
The front bezel of the enclosure is well aligned meeting up with any and all angles nicely especially where the curved venting is concerned. Plenty of air should be able to get through. Since the front cooling fan is so large, it won’t require a high amount of RPMs to keep the internal system cool. The door opens quietly as well.
The easy to remove 5.25″ bay covers are also vented with no internal chassis plating blocking any of the ports for increased air flow.
Phantom 630 – Back and Sides
The rear of the chassis is anything but typical. There’s a back upper 140mm cooling fan that slides up and down for better expelling hot air from the CPU cooler as well as make room for any radiators you want to mount up top, thanks to channels that allow a moderate degree of up and down movement. Some of you eagle eyed enthusiasts may notice the lack of water cooling grommets. Earlier this year at CES 2013, we asked NZXT about this and they said that based on feedback, they felt it was safe to exclude them to help bring the case into a lower price point. But if you are a modder, you’d be cutting your own holes anyway.
Additionally, there is a small LED that (yes) lights up the IO or PCI area so you can you find your ports in dark areas. It sure does make it easier plugging things in at the LAN parties where lights are often dim. Another one at the bottom of the PCI frame would help even more. And, yes, it can be turned on and off!
As for the left of the case (behind the motherboard tray), nothing much is happening. It’s a bland panel that could have used two small cut outs so people can see your elite SSDs . The right side, however, features a massive quiet cooling fan with well machined venting and filters to help keep mutant dust bunnies from living in your enclosure. The window is just large enough to see all technological creaminess you put inside your build.
Phantom 630 – At the Top
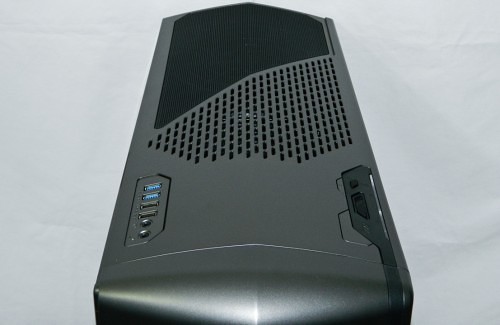
I personally really like the top design most of all because of its exotic curves. Yes, I’m talking about the Phantom 630. The combination of black, gunmetal panels and chassis machining is very clean and blends well with the finish. There’s a top 200mm quiet high performance cooling fan expelling warm air. There’s room for another large fan, or for radiators up to 360mm should you decide to liquid cool down there.
The top front area features the USB 2.0, 3.0 and audio ports on the right. On the top left, enthusiasts will find the power, reset, HDD LED, power LED, rear IO LED and fan speed controls. They blend well in to the chassis for a nice streamline effect.
Phantom 630 – Going Inside
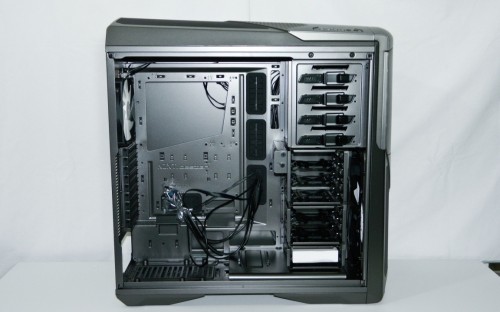
How would I describe the heart of the Phantom 630 in a word? Clean. Starting from the bottom, you can see the PSU zone fits any size power supply currently available. There is a lot of very nice machining, grommet holes and a CPU cooler cut out throughout the chassis that encourages airflow. Towards the bottom front is a sporty looking removable fan cover designed to support the hard drive cages and protect additional fans underneath. It can also be removed if you want to add a custom radiator. More on that later.
Moving upward, attached to the top hard drive cage is a familiar pivoting optional fan mount for aiming cool air directly at your video cards if needed. You can add a 120 or 140 mm fan. All of the drive cages are fortunately tool-less as well. Flexible drive trays are used on the three lower 3.5″ cages. They even fit 2.5 inch drives and have some improvements that help them keep their shape whereas the ones in the Phantom 820 tended to be a bit too flimsy.
All of the 3.5″ hard drive bays are removable via 4 thumb screws each from the left side. Additionally, you could reorient your hard drives so you can access the data and power cables from the right side instead whereas you cannot on the Phantom 820. This is a bonus in my opinion, but if you are looking for that totally stealth look, the Phantom 820 still has that premium presentation.

