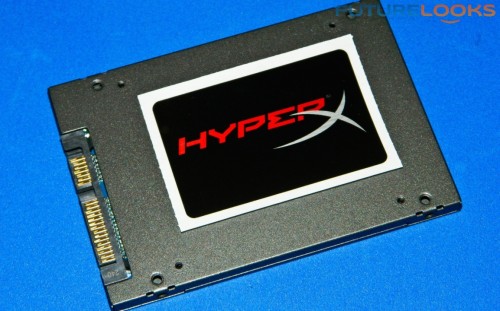
Not too long ago, it seemed like SSD pricing would never reach mass market affordable levels. Now we’re finally seeing SSD prices below 50 cents a GB, making it a great time to buy. 240GB SSDs seem to be the sweet spot for many builds, and can be found for under $120 US. For those looking for larger dries, even 1TB units are coming down the pipe in the $400-450 price range. It’s still not as affordable as platters for storage capacity, but we are starting to get more flash for less. And of course, the main benefit of SSD technology is system speed and responsiveness.
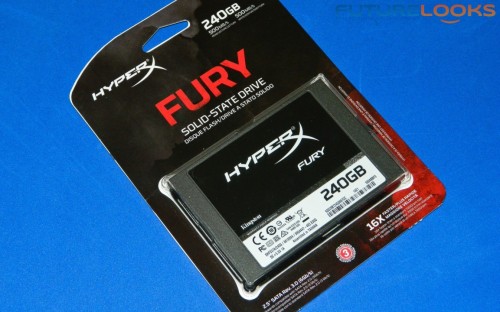
Following in the foot steps of the original HyperX Black and Blue SSDs, Kingston recently launched a new, the more affordable HyperX Fury SSD series that appeals to gamers on a budget. With a SandForce SF-2281 controller inside, it should be a great combination of performance and capacity. Let’s take a closer look!
Features and Specifications

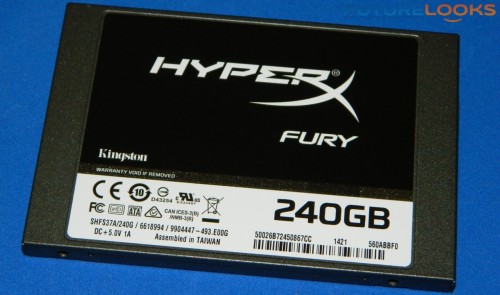
As you can see, the Kingston HyperX Fury comes in 120 and 240GB capacities and utilizes a SandForce SF-2281 controller to manage the Micron 20nm synchronous NAND within each capacity. Synchronous NAND tends to perform better under extensive use. There aren’t any plans to offer larger capacities at the moment, which is okay since this is an entry-level option, and helps gamers get their feet wet at an affordable cost.
The Kingston HyperX Fury SSDs slot right behind the HyperX 3K Black series drives, and fill the gap for a more enthusiast oriented offering. At $130 US, the 240GB model is very affordable, with the 120GB version slotting in at around $70 US. Both of which come with a full 3 year warranty and 3 years of technical support as well.
What’s in the Box?
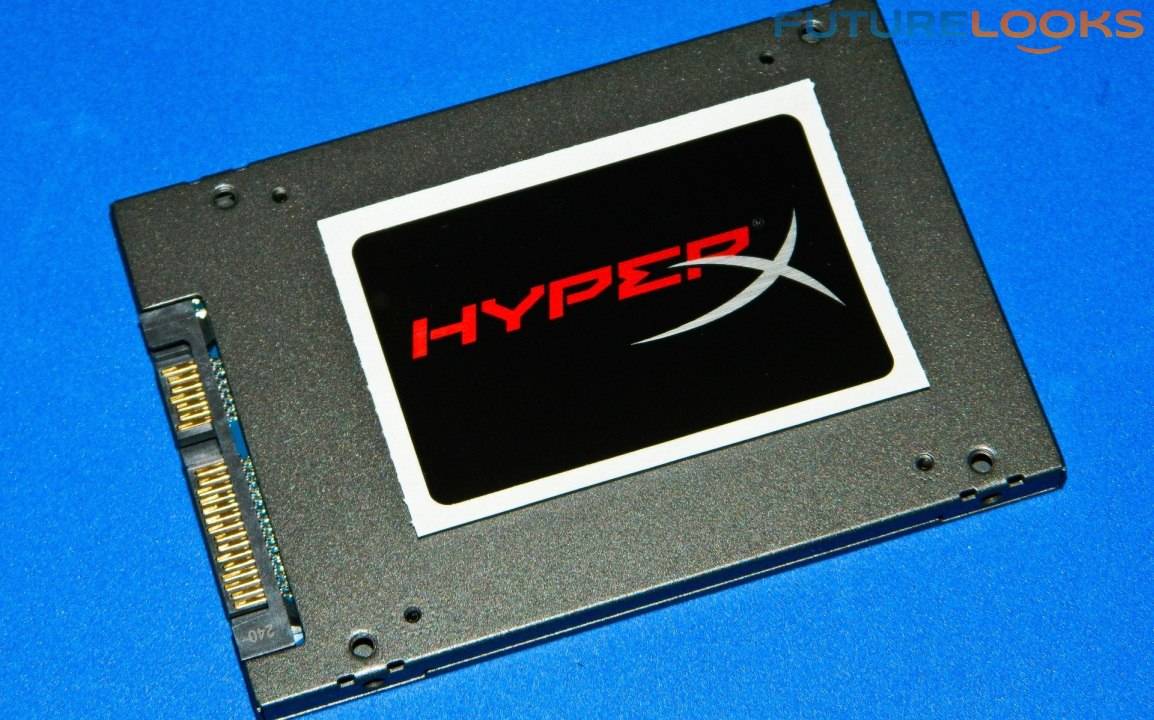
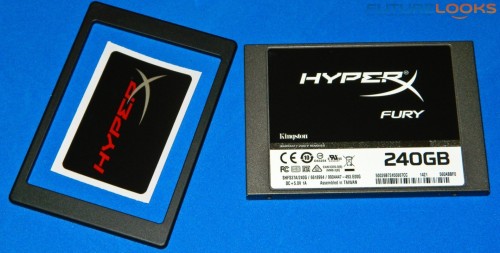
Being that the Kingston HyperX Fury is a 7mm height SSD, the unit includes a spacer that helps it bulk out to a more standard 9.5mm height, which is very common in notebooks. You also get a sticker for adding flare to your build as well. This represents a fairly bare bones package for those that are experienced and already have the tools and software needed to clone their drive and install it.
However, since this drive is geared towards the more entry level PC DIY crowd, a bundle with all the necessities for installation might be a nice touch. Similar to what the company has done in the past with the original HyperX SSD.
HyperX – The Only Name You Need to Know
The Kingston HyperX Fury is just step one in Kingston’s re-branding vision of putting the name HyperX out front as the performance arm of the company. The Kingston HyperX Fury will take over as the entry-level of their new performance range, while the HyperX 3K will hit the mid-level, with the HyperX Predator PCIe, due to launch later this year, will round out the top of their range. And of course, the options will fan out in each fam.
During our visit to COMPUTEX 2014, we spent time with company talking about this new branding strategy. And we are looking forward to new products that will be part of this including new USB drives, performance memory kits, and new updates to their HyperX Cloud Gaming Headsets.
Test System Setup and Configuration
If you’re experienced with SSD upgrades/swaps, the Kingston HyperX Fury sets up like any other SSD, with the exception of the adapter that will be needed for 9.5mm height bays. Find a spot in your computer case for the SSD, simply plug a power supply SATA cable in to your Fury SSD, plug a SATA data cable in to your motherboard and SSD, and power up. Your Windows installation process will identify the SSD at which point you can format or simply select the SSD volume and then let Windows install.
As mentioned earlier, it would have been nice to have the option to buy a retail kit that includes extras that would help more entry level users DIY the upgrade themselves. As they have done in the past with both HyperX and V-Series kits.
Here’s the breakdown of our test system:
- CPU and Cooler: Intel Core i7-4770K Haswell and beQuiet Dark Rock Pro 3
- Motherboard: GIGABYTE GA-Z87X-UD4H
- Memory: Kingston HyperX Genesis 8GB DDR3
- Storage 1: Kingston HyperX Fury 240GB SSD (as tested)
- Storage 2: Western Digital Velociraptor 1TB
- Video card: MSI GTX 750 Ti OC 2GB
- Power supply: beQuiet Dark Power Pro 850 80Plus Gold
Since this drive is aimed at entry level SSD upgraders, we will be comparing it directly against the fastest possible platter drive out there, which is the WD Velociraptor 1TB hard drive.
The test software includes SANDRA Physical Disk which is a good standardized market software suite that reveals bandwidth capabilities , Black Magic Disk Speed which provides bandwidth and what live video recording formats can be supported, CrystalDiskMark which utilizes high compression tests which indicates just how resilient the controller and NAND are under intense load, and ATTO for overlapped IO more for the administrators who need it.
Let’s get on with the testing!

